How to Start a School or Home Garden
So now that we are all aware of the MANY benefits of school gardens, how can educators or parents practically build garden-based learning opportunities for children, especially if they themselves are not gardeners? Here are some great ideas to get started:
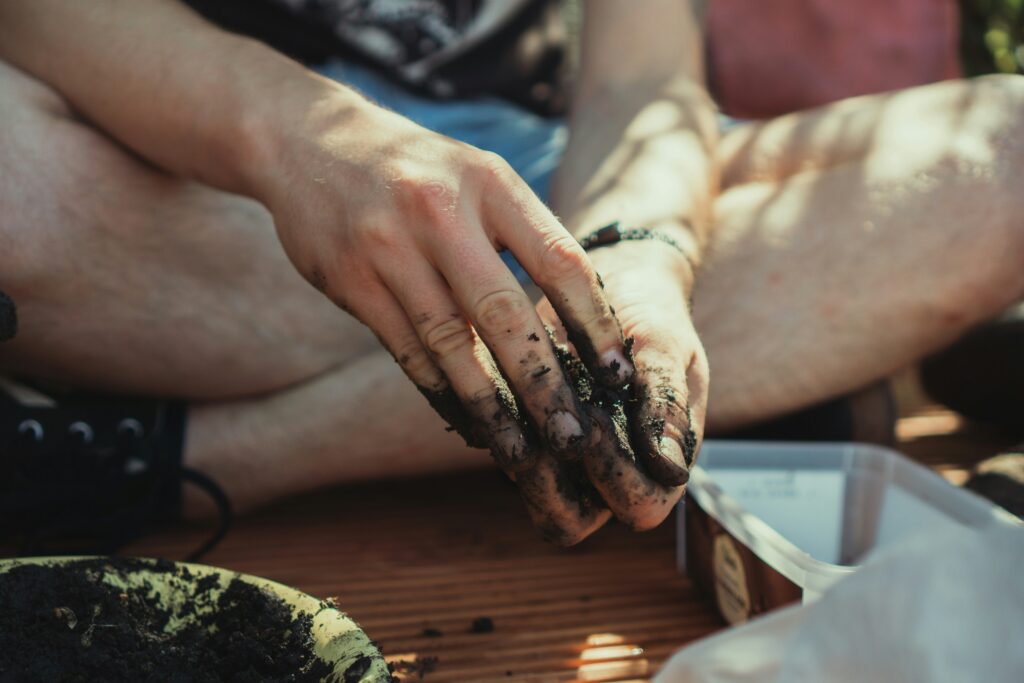
Start Small and Hands-on
A small planter box, a set of pots or even container gardening works. And good news? Seeds are relatively cheap! No matter the size of your garden or space available, even in a windowsill garden, children can measure plant growth, observe seeds sprouting, and help grow their own food or herbs. The key is to let them do it: digging soil, planting seeds, watering, weeding, observing insects, setting up compost systems, are all ways kids can actively be involved, learn from experience and discover new things, and above all we need to let them get messy, its way more fun that way (remember to use tasks appropriate for different children’s ages and abilities).
Incorporate Measurement, Observation & Documentation
Have children journal or draw what they see; measure height of plants; count leaves; compare leaf sizes; explore variables (sun/shade, water/compost amounts). These activities tie to math (measurement, graphing, counting), science (life-cycles, plant biology, experimentation), literacy (vocabulary, journaling).
Encourage Inquiry, Questioning & Reflection
Instead of only telling children about life cycles, ask them: What do you think will happen if we water less? What do you notice about the soil? Who do you think ate this plant? Do plants like sunshine? How much or for how long?
Discussion and reflection can reinforce deeper learning (metacognition) and build curiosity for exploration. Experimentation is the basis of gardening. Learning what grows best where, and with what is all part of the learning process, and it encourages lots of questions. Questions are a great opportunity to involve community gardening clubs, family members, seniors or local farmers to come and talk about their favorite ways to grow things and answer any questions the students may have.
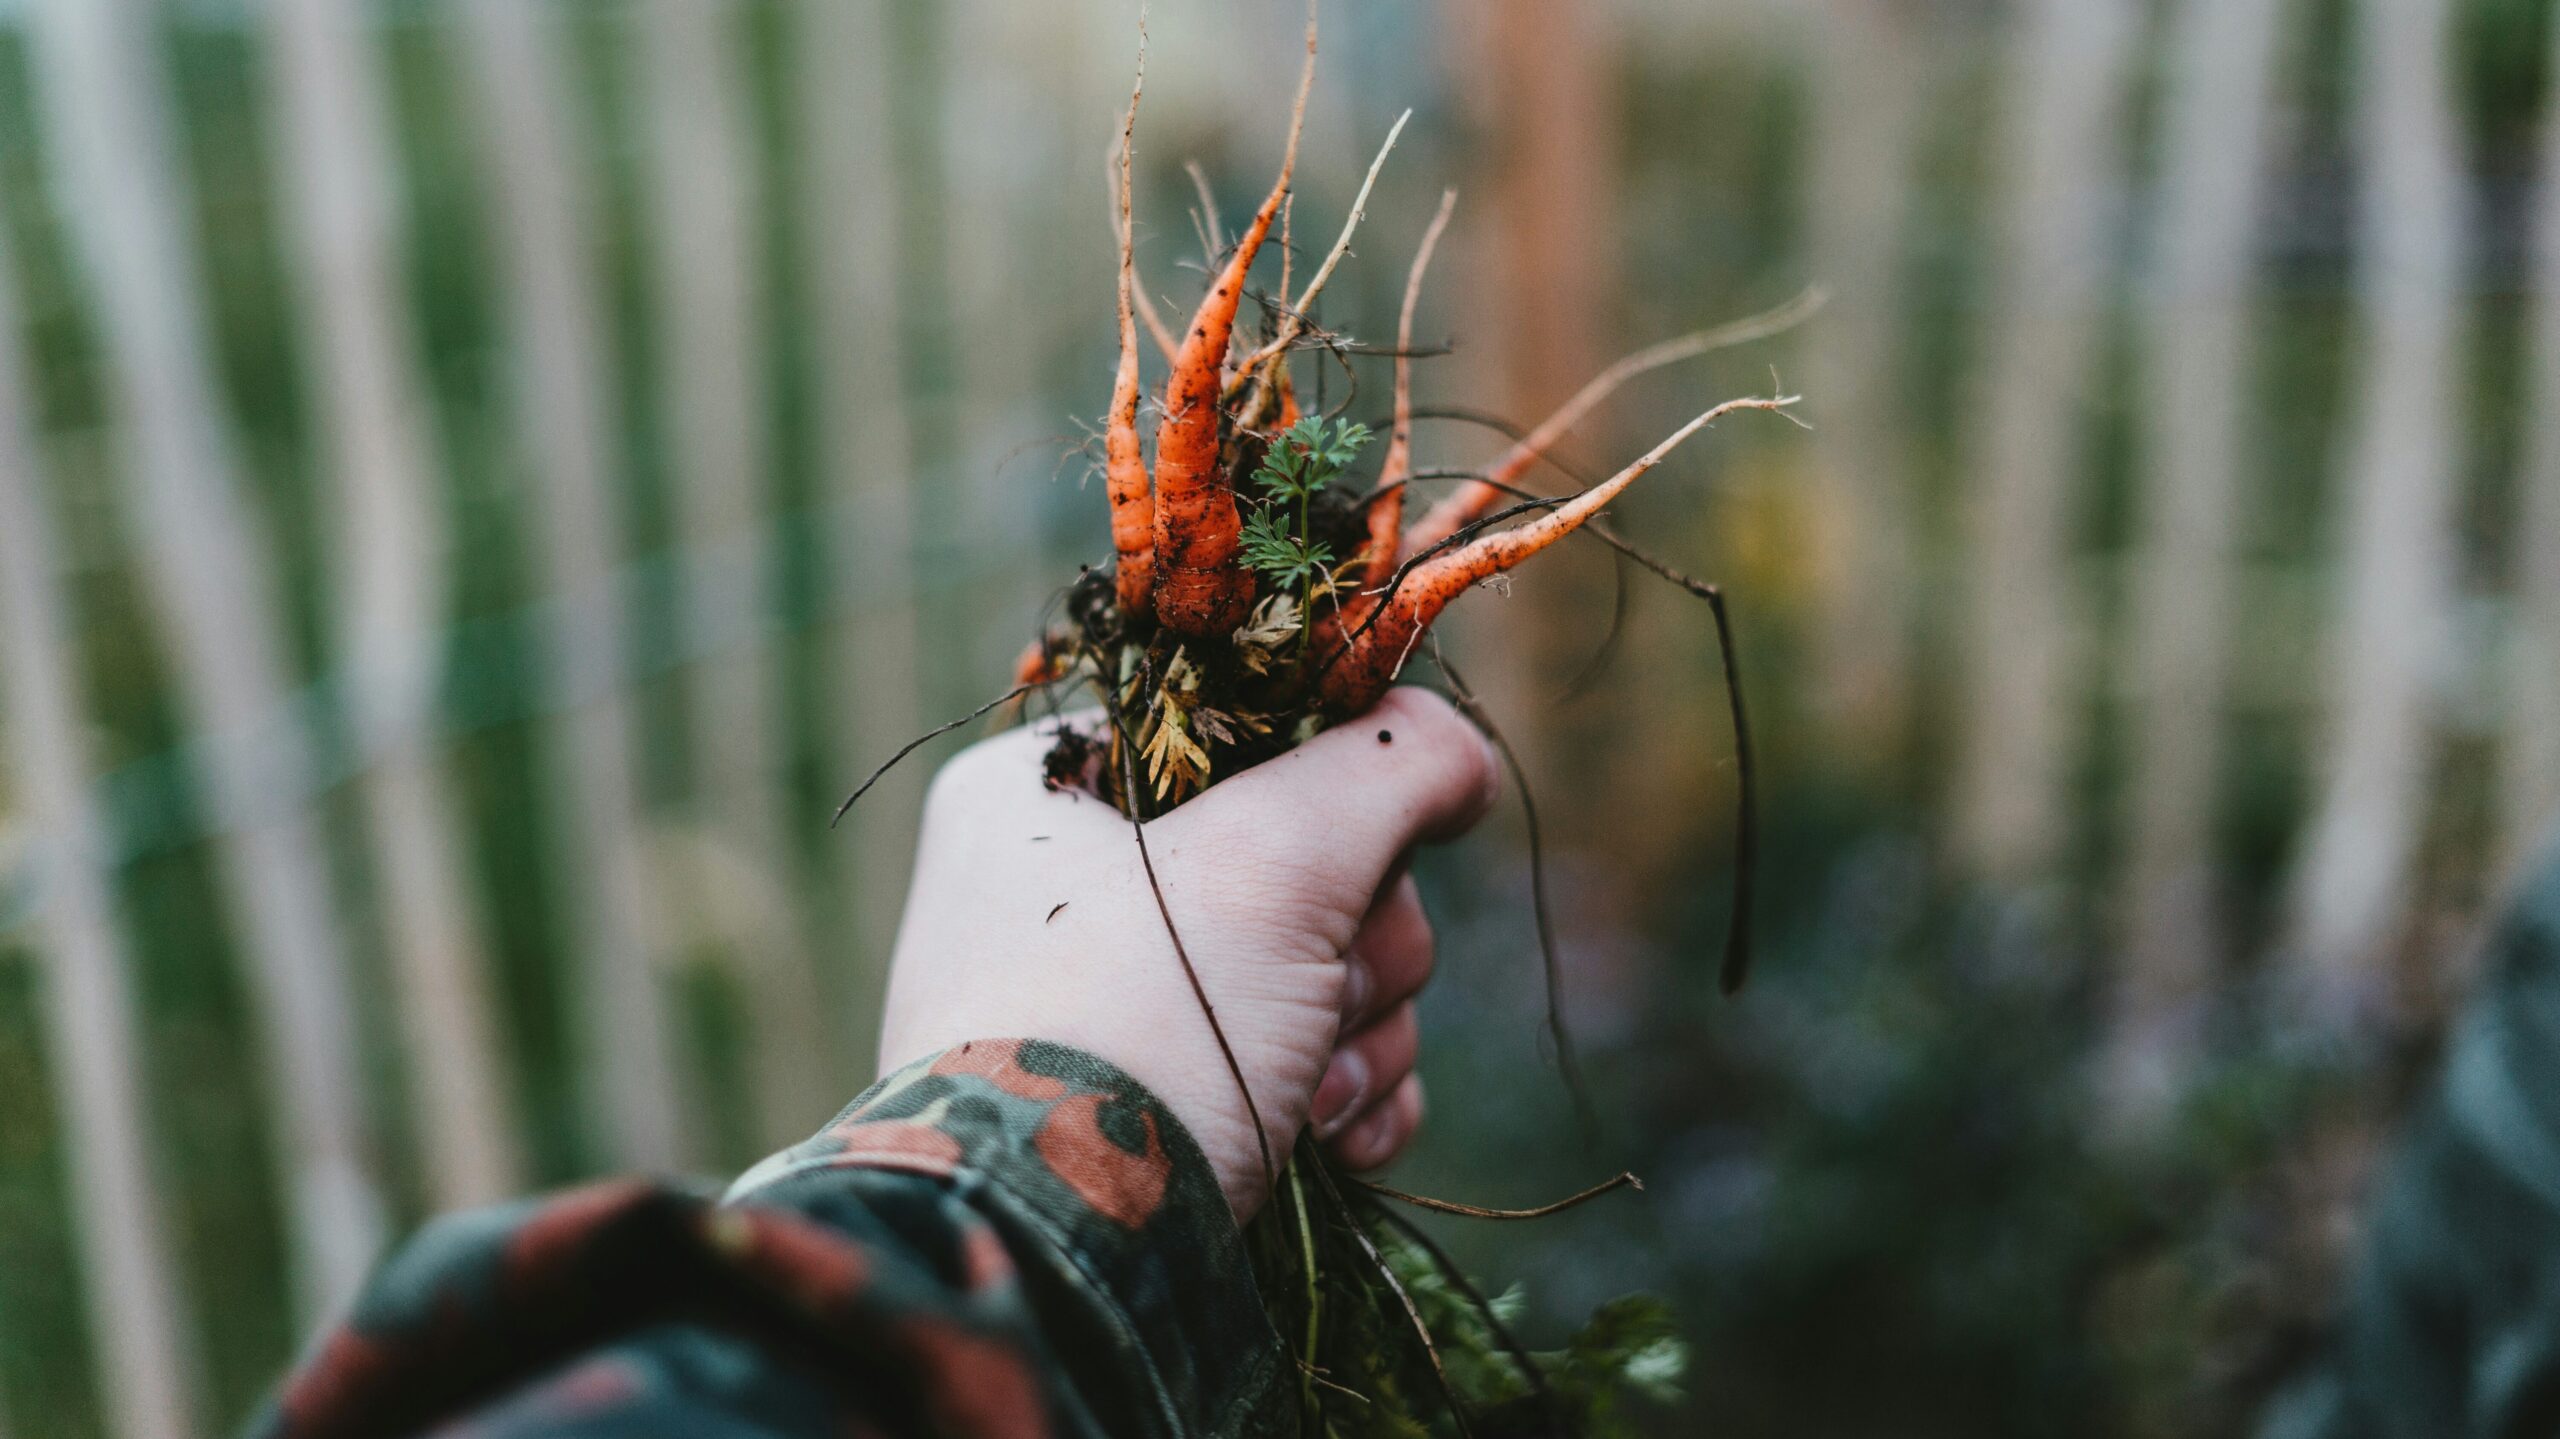
Harvest Time
Let children eat and taste the vegetables or fruits they grow. This connects the abstract idea of food (from factory or store) back to nature and is a great way to introduce both nutrition awareness and a sense of reward. Children can have better recognition of and willingness to taste new vegetables if they themselves have grown it. It also might mean they end up eating more veggies too (I always end up snacking on fresh veggies and fruits when I’m in the garden, guilty as charged).
Incorporate into Curriculum or Routine
Whether in a classroom or at home, regular time in the garden (even 15-20 minutes/week) helps transform it from a “fun side activity” to a meaningful learning environment. From all of the research I’ve done the biggest take away is this: Kids want to be in the garden. It is a marvelous resource to extend learning from classroom to soil. Consistent time spent in the garden can lead to the integration of bigger educational goals. Rather than one-off activities, spending regular consistent time in the garden can help improve learning outcomes and increase learning connections (the secret is in the soil) Let them try their own hand at building their own free inquiry project, based around the school garden.
Below you will find a seed sowing and saving activity you can use to kickstart your class garden.
Seed Sowing and Saving, the Cheap Gardeners Guide to Growing with Kids
There’s something magical about watching a seed transform into a big, beautiful plant. For children, this process is pure wonder too, a living science experiment that sparks excitement and joy. Seed starting and seed saving are simple, rewarding activities that connect kids to nature, encourage patience, and show the cycles of life right in their hands (and help save ya lots of money too). Whether you’re a parent, teacher, or grandparent, this is a great way to spend time together and create memories that last well beyond one growing season.
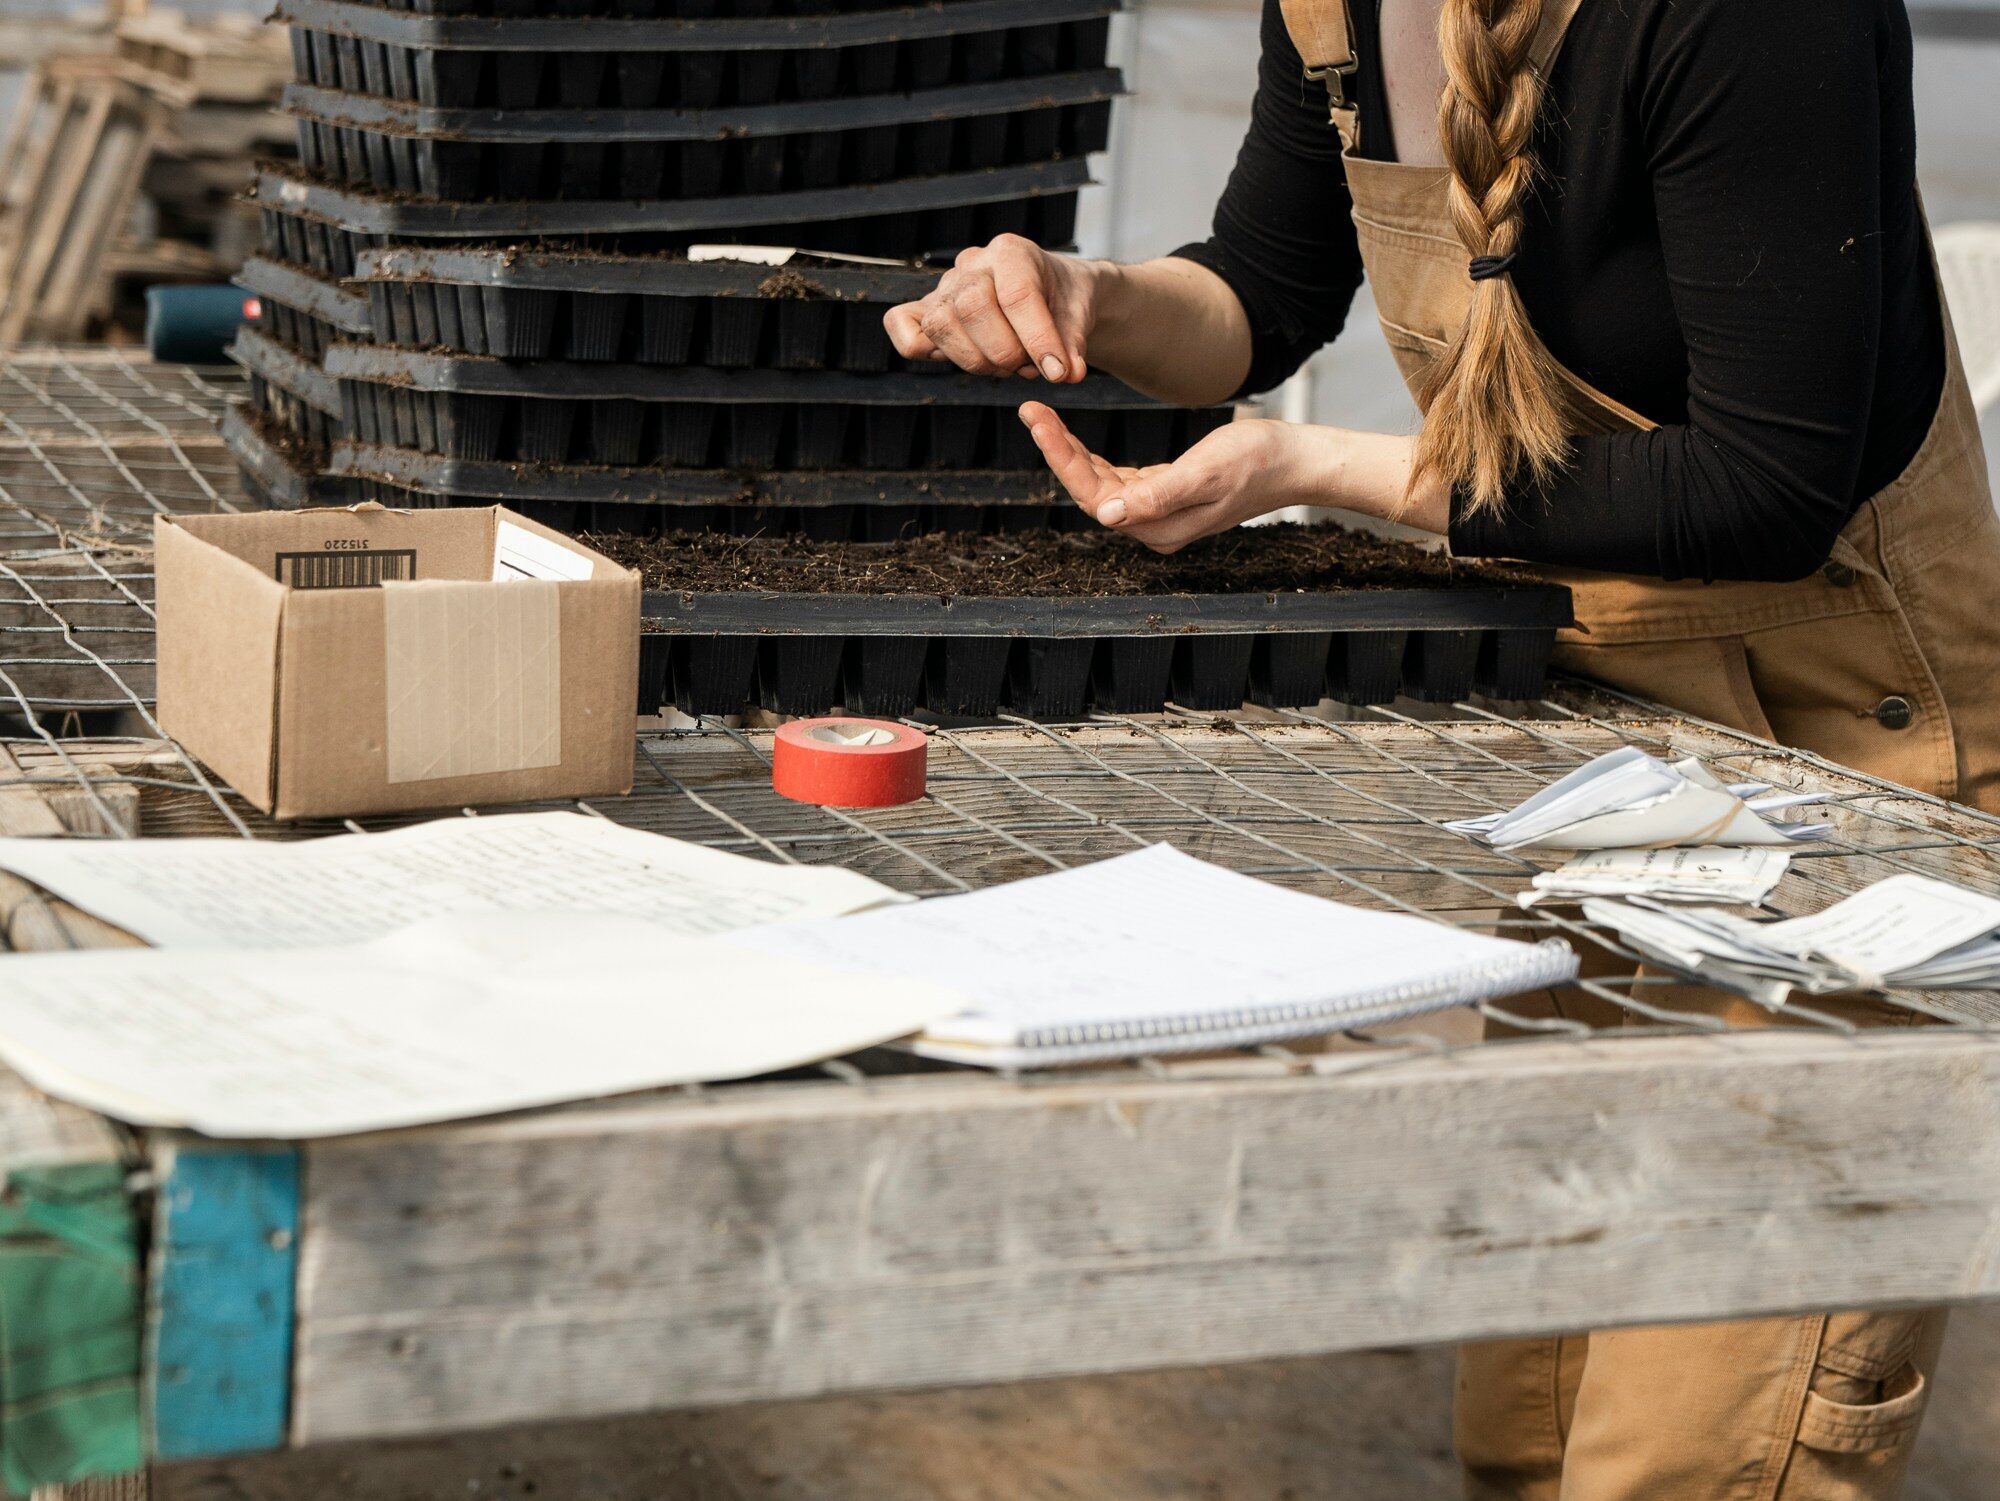
Getting Started: Choosing Seeds and Supplies
When gardening with children, simplicity and success are key. The goal is to create an experience that’s both fun and easy to understand. Start by choosing seeds that germinate quickly and grow visibly within days, beans and peas are my favorite, they are so speedy and eager to grow, and fast growers help keep new gardeners engaged.
Great beginner choices include:
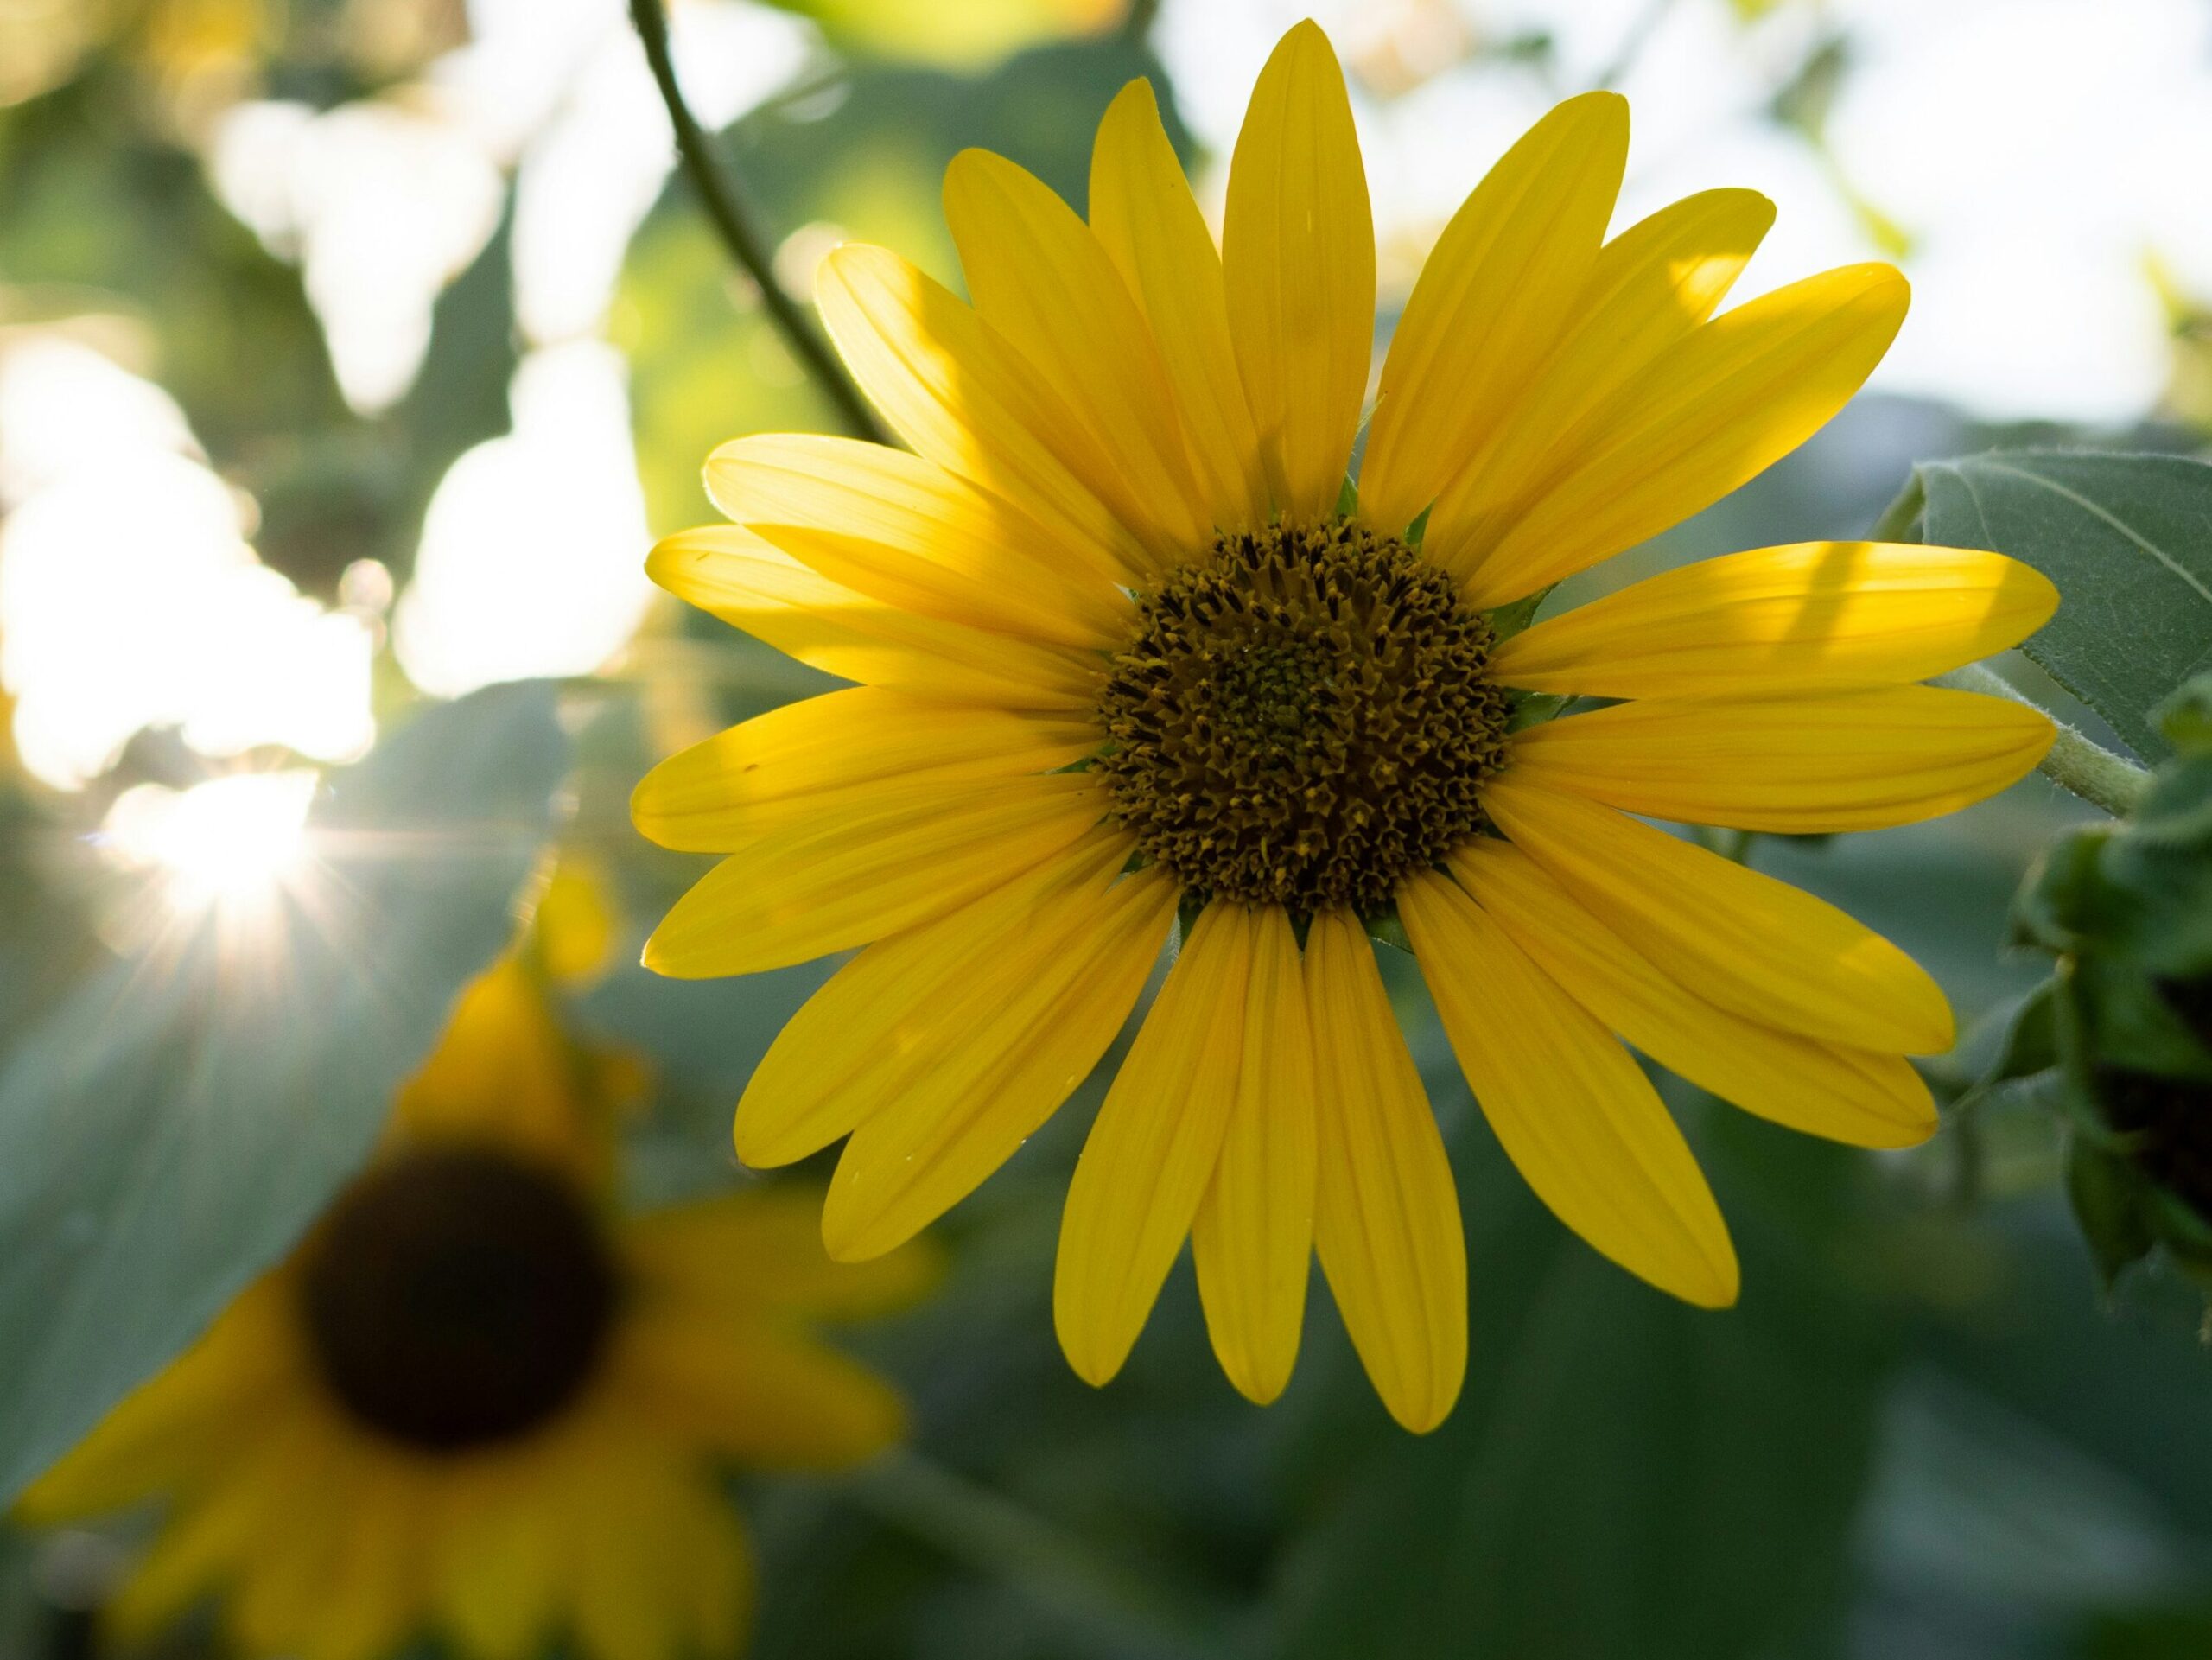
- Sunflowers, large seeds that are easy to handle and sprout quickly
- Beans or peas, fast-growing climbers that kids love to watch stretch upward
- Lettuce or radishes, quick to germinate and harvest, perfect for short attention spans
- Marigolds Cosmos or zinnias, colorful, hardy flowers that bring instant joy
You’ll need just a few basic supplies:
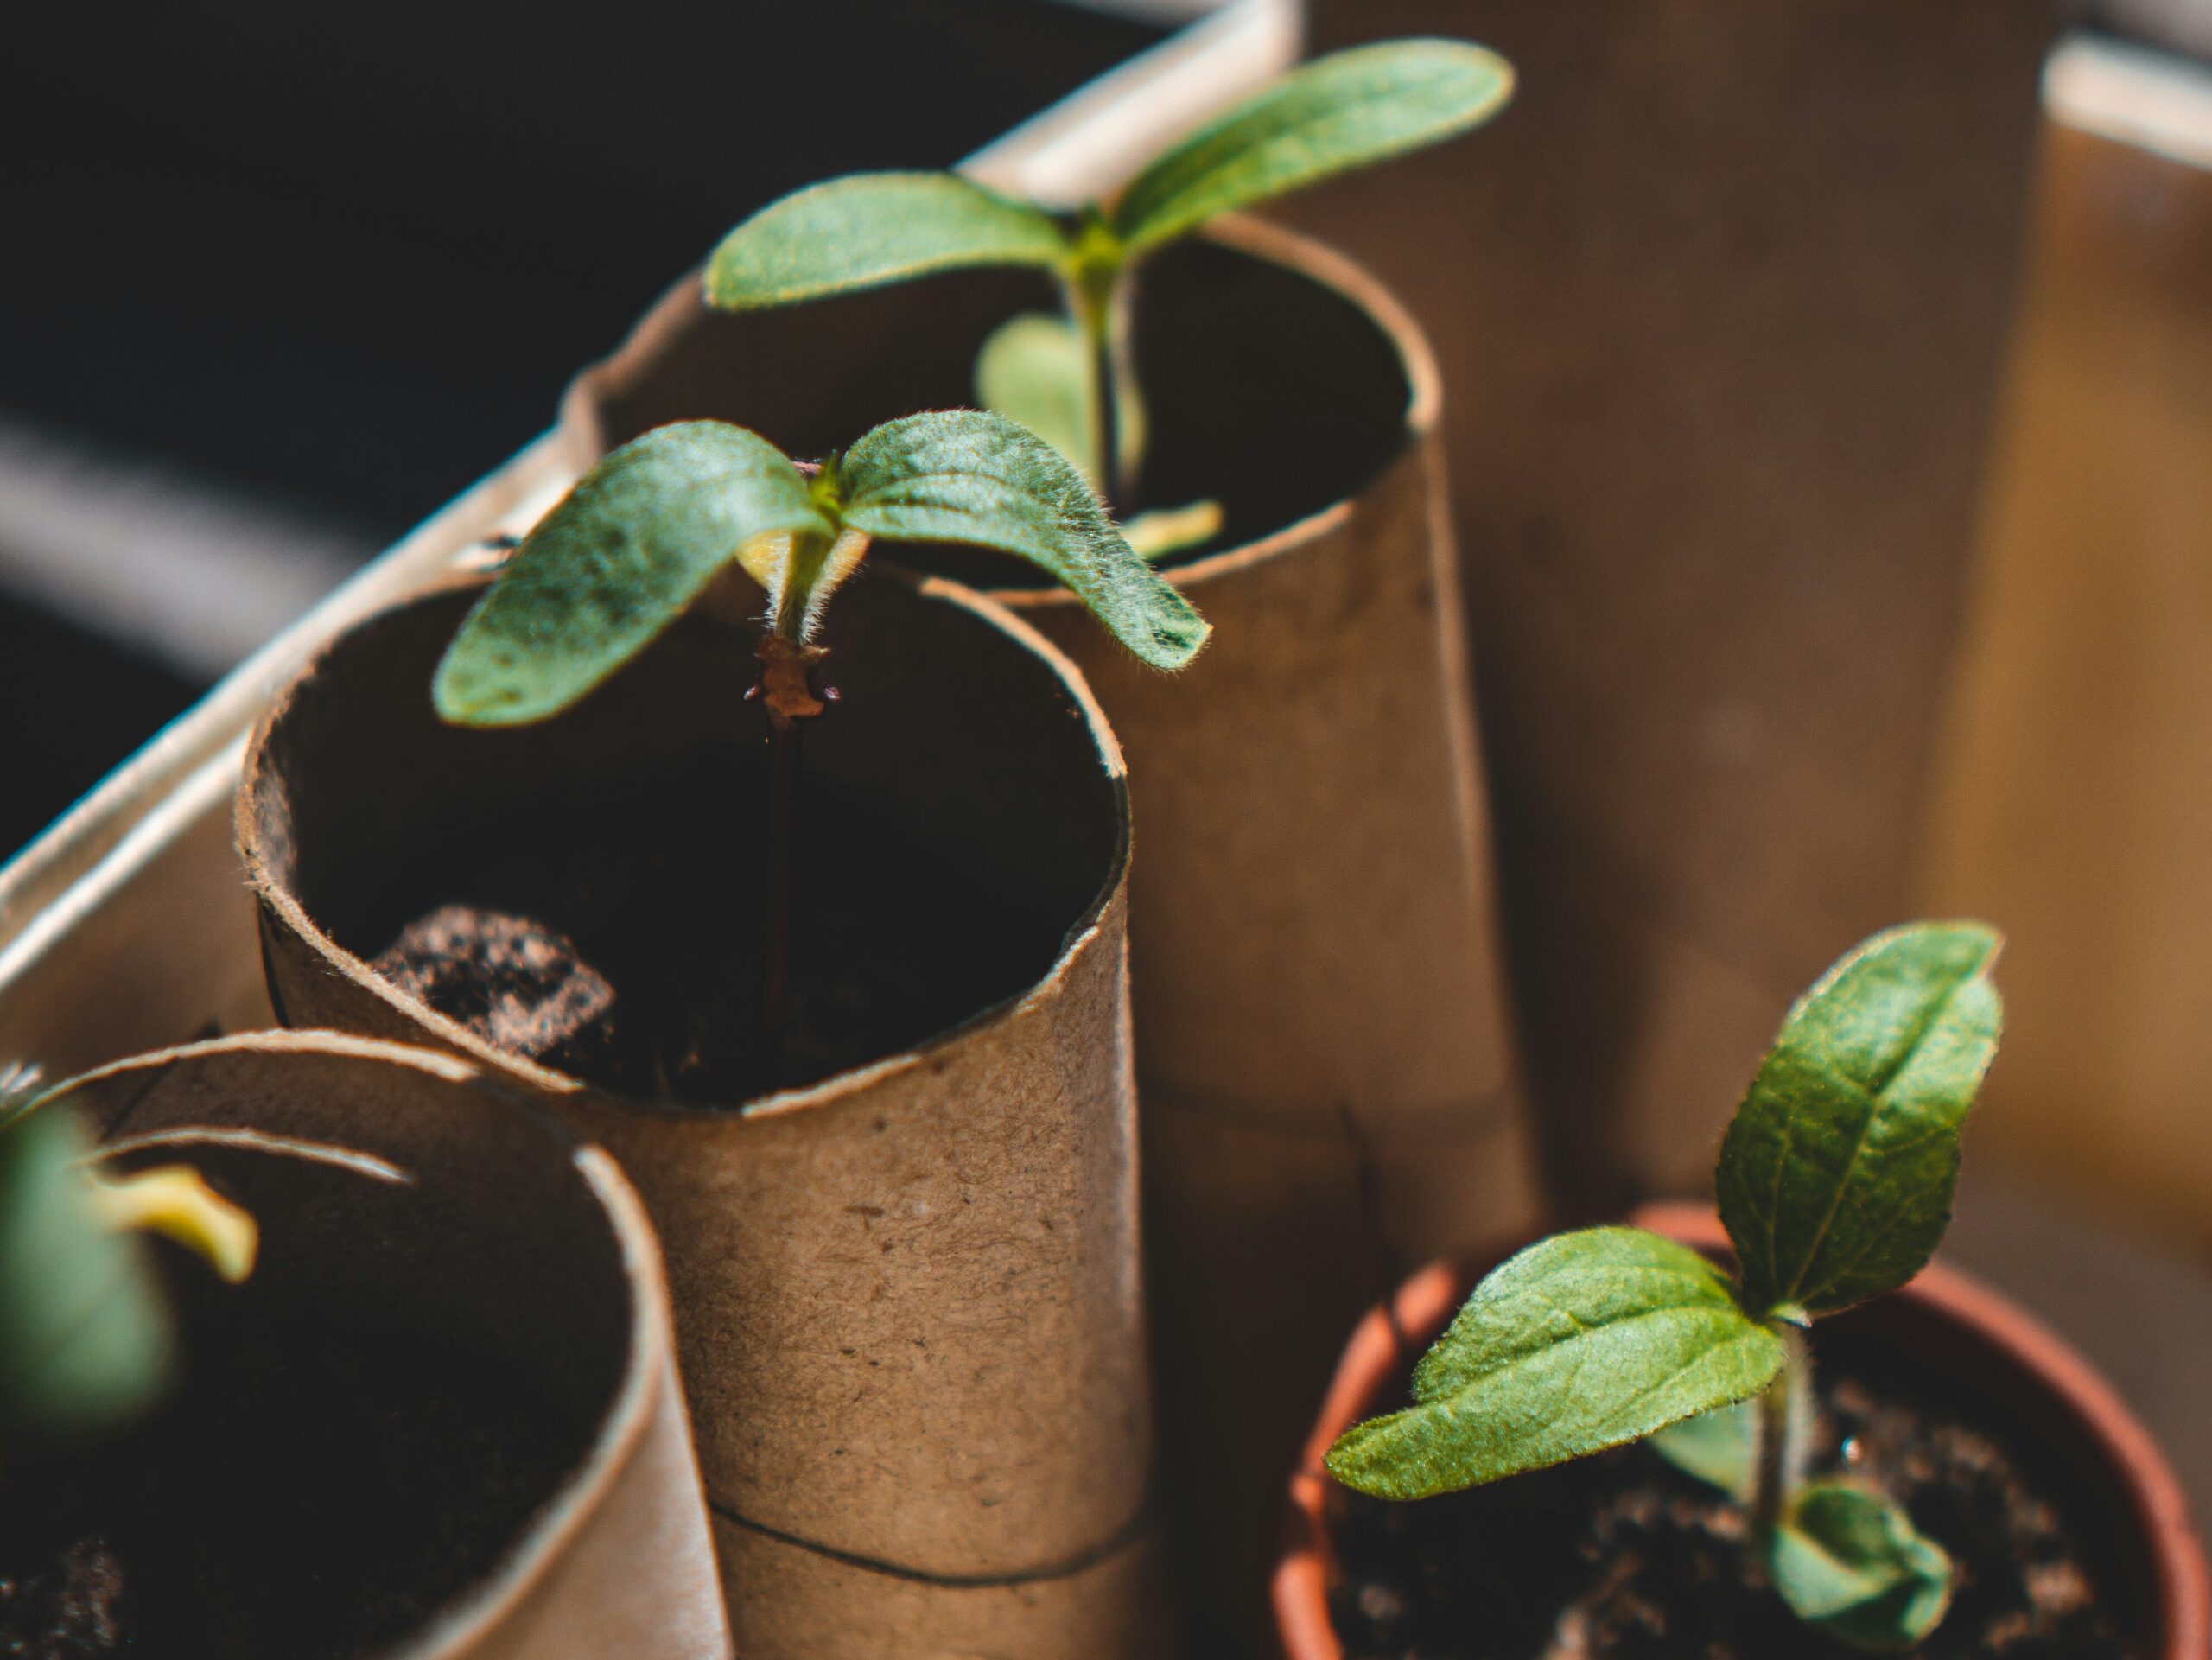
- Small pots, seed trays, or even recycled containers (egg cartons, toilet paper rolls, or even scrap yarn work great)
- Potting mix or starter soil
- A spray bottle or slow pouring watering can (for the enthusiastic waterers)
- Popsicle sticks or labels for marking what you’ve planted
Encourage kids to decorate their seed containers, it helps them get creative and gain excitement about the project. You can even turn it into an art activity before planting begins.
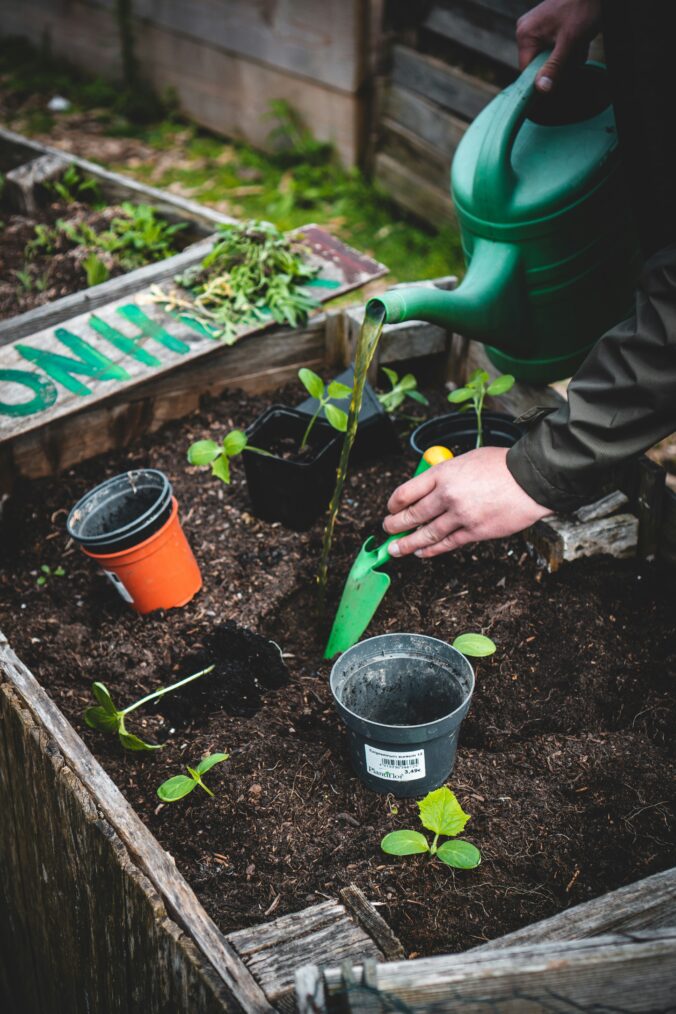
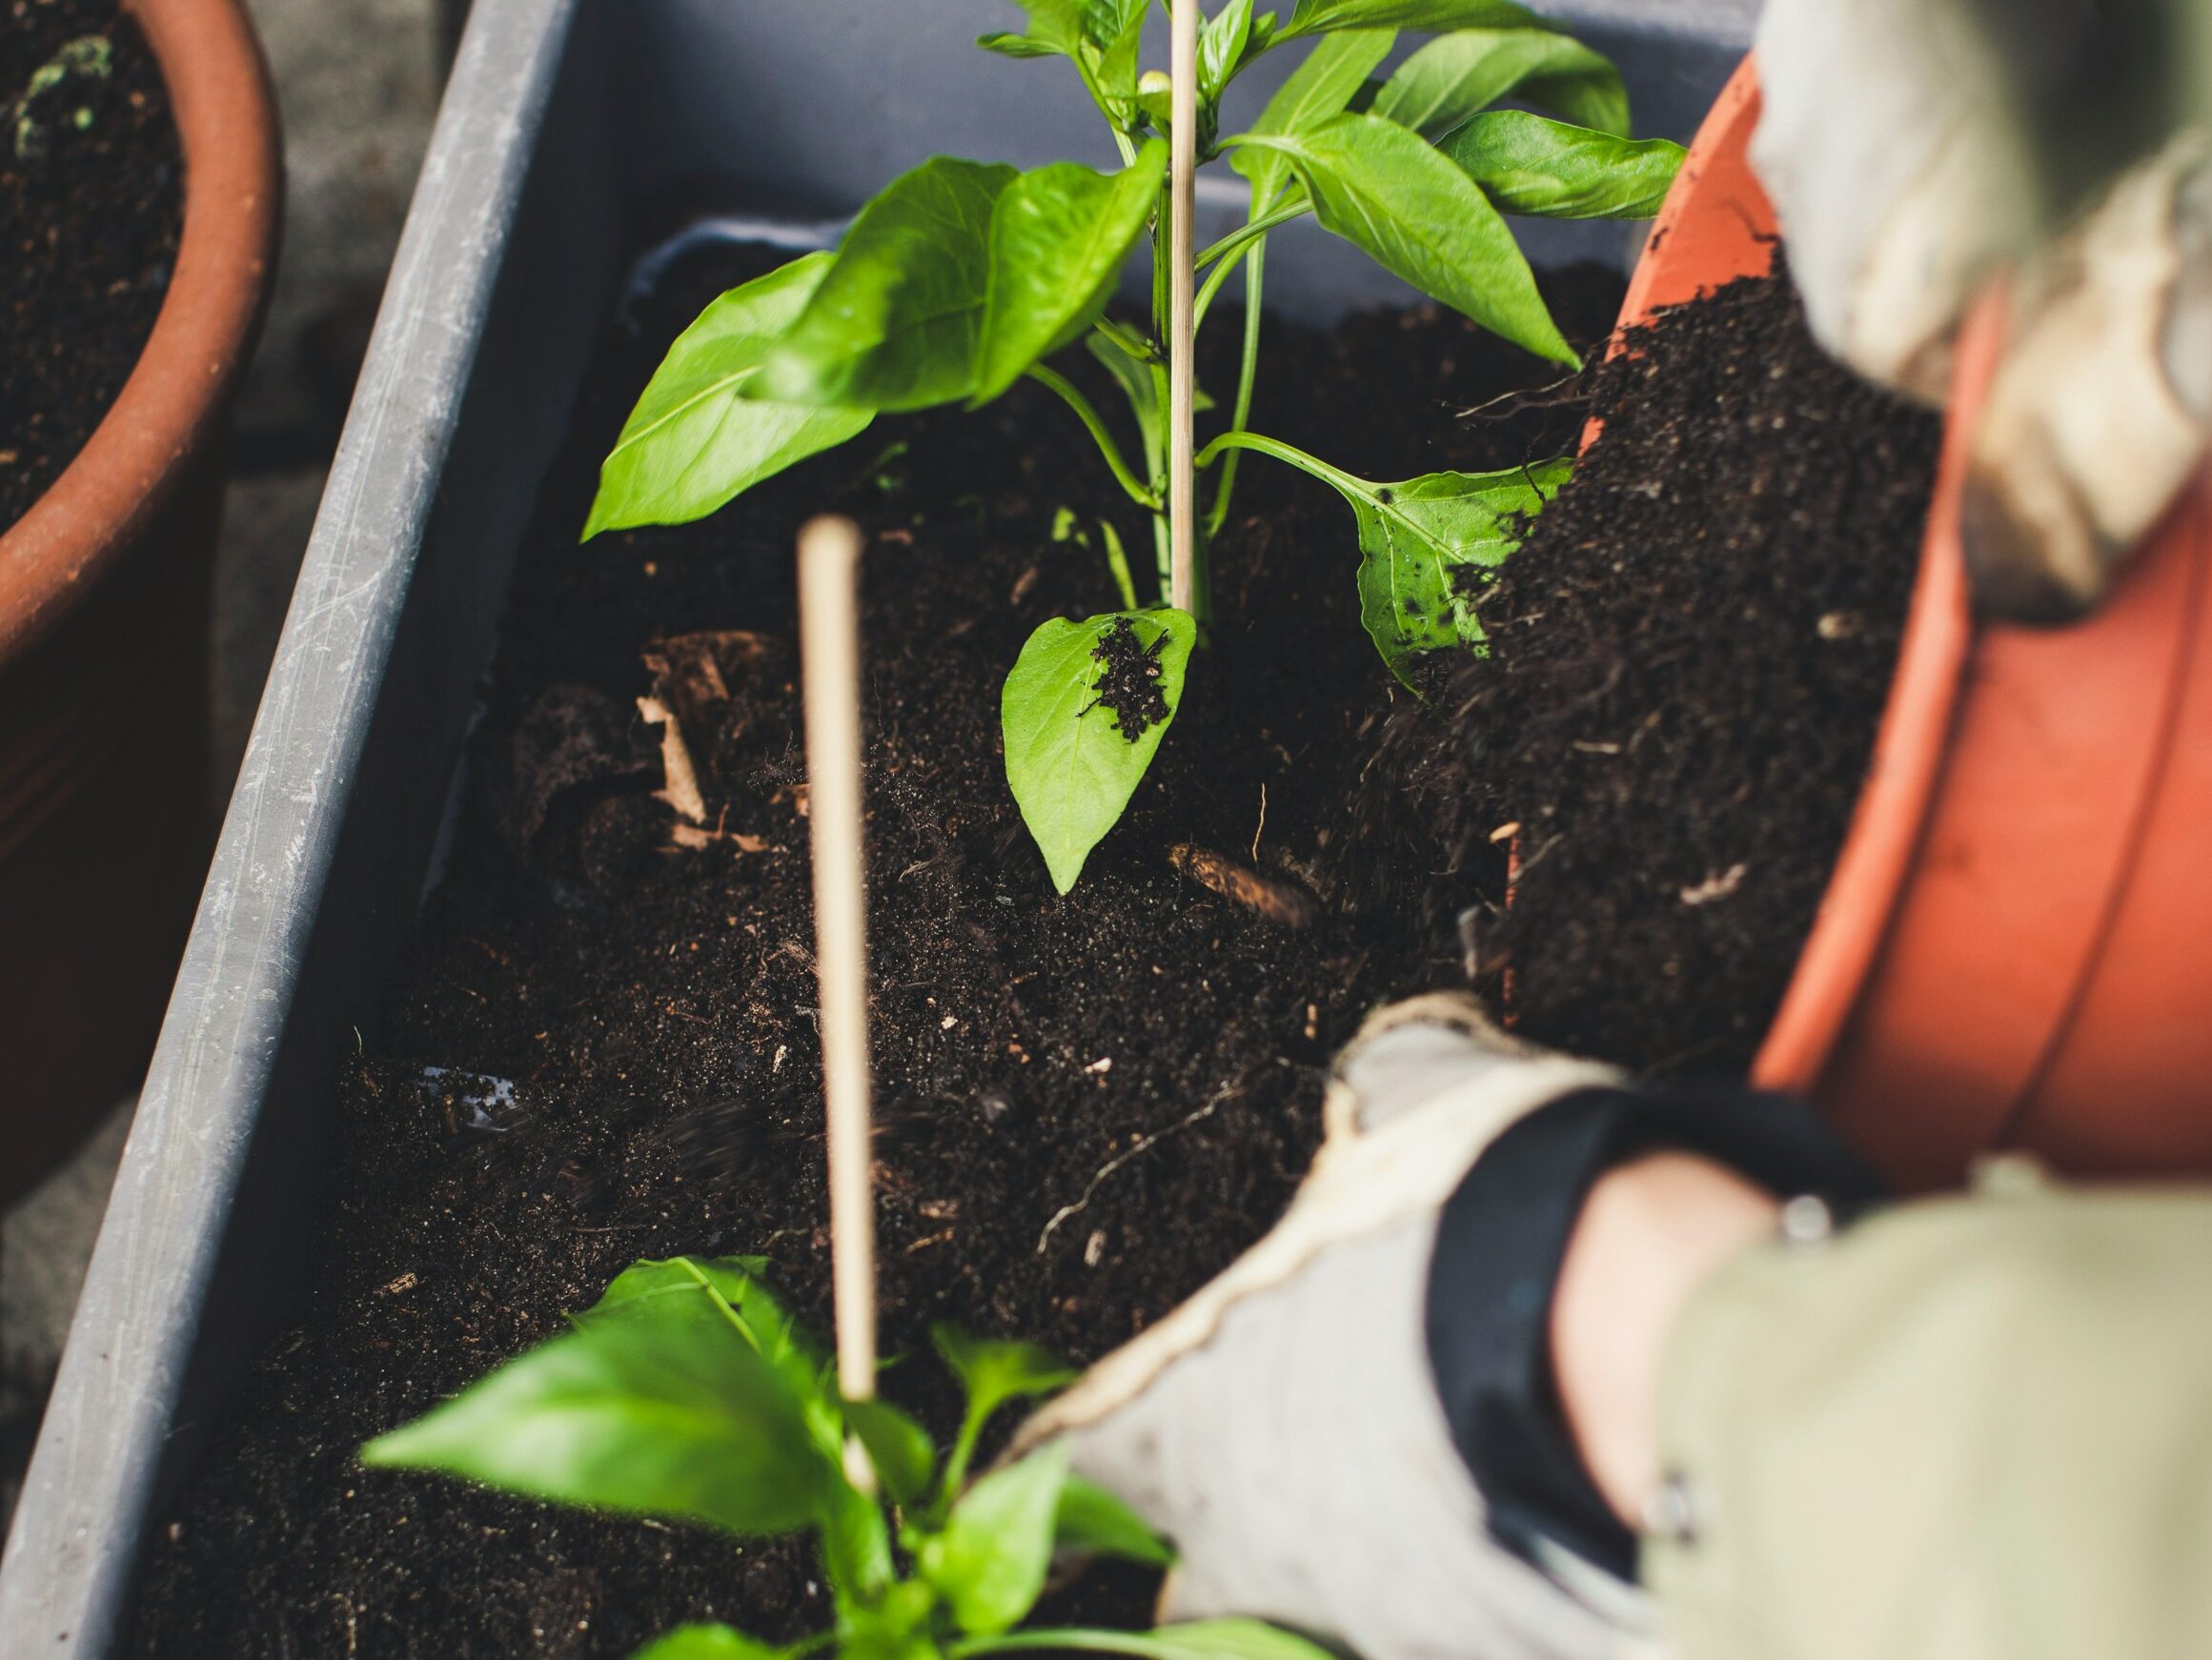
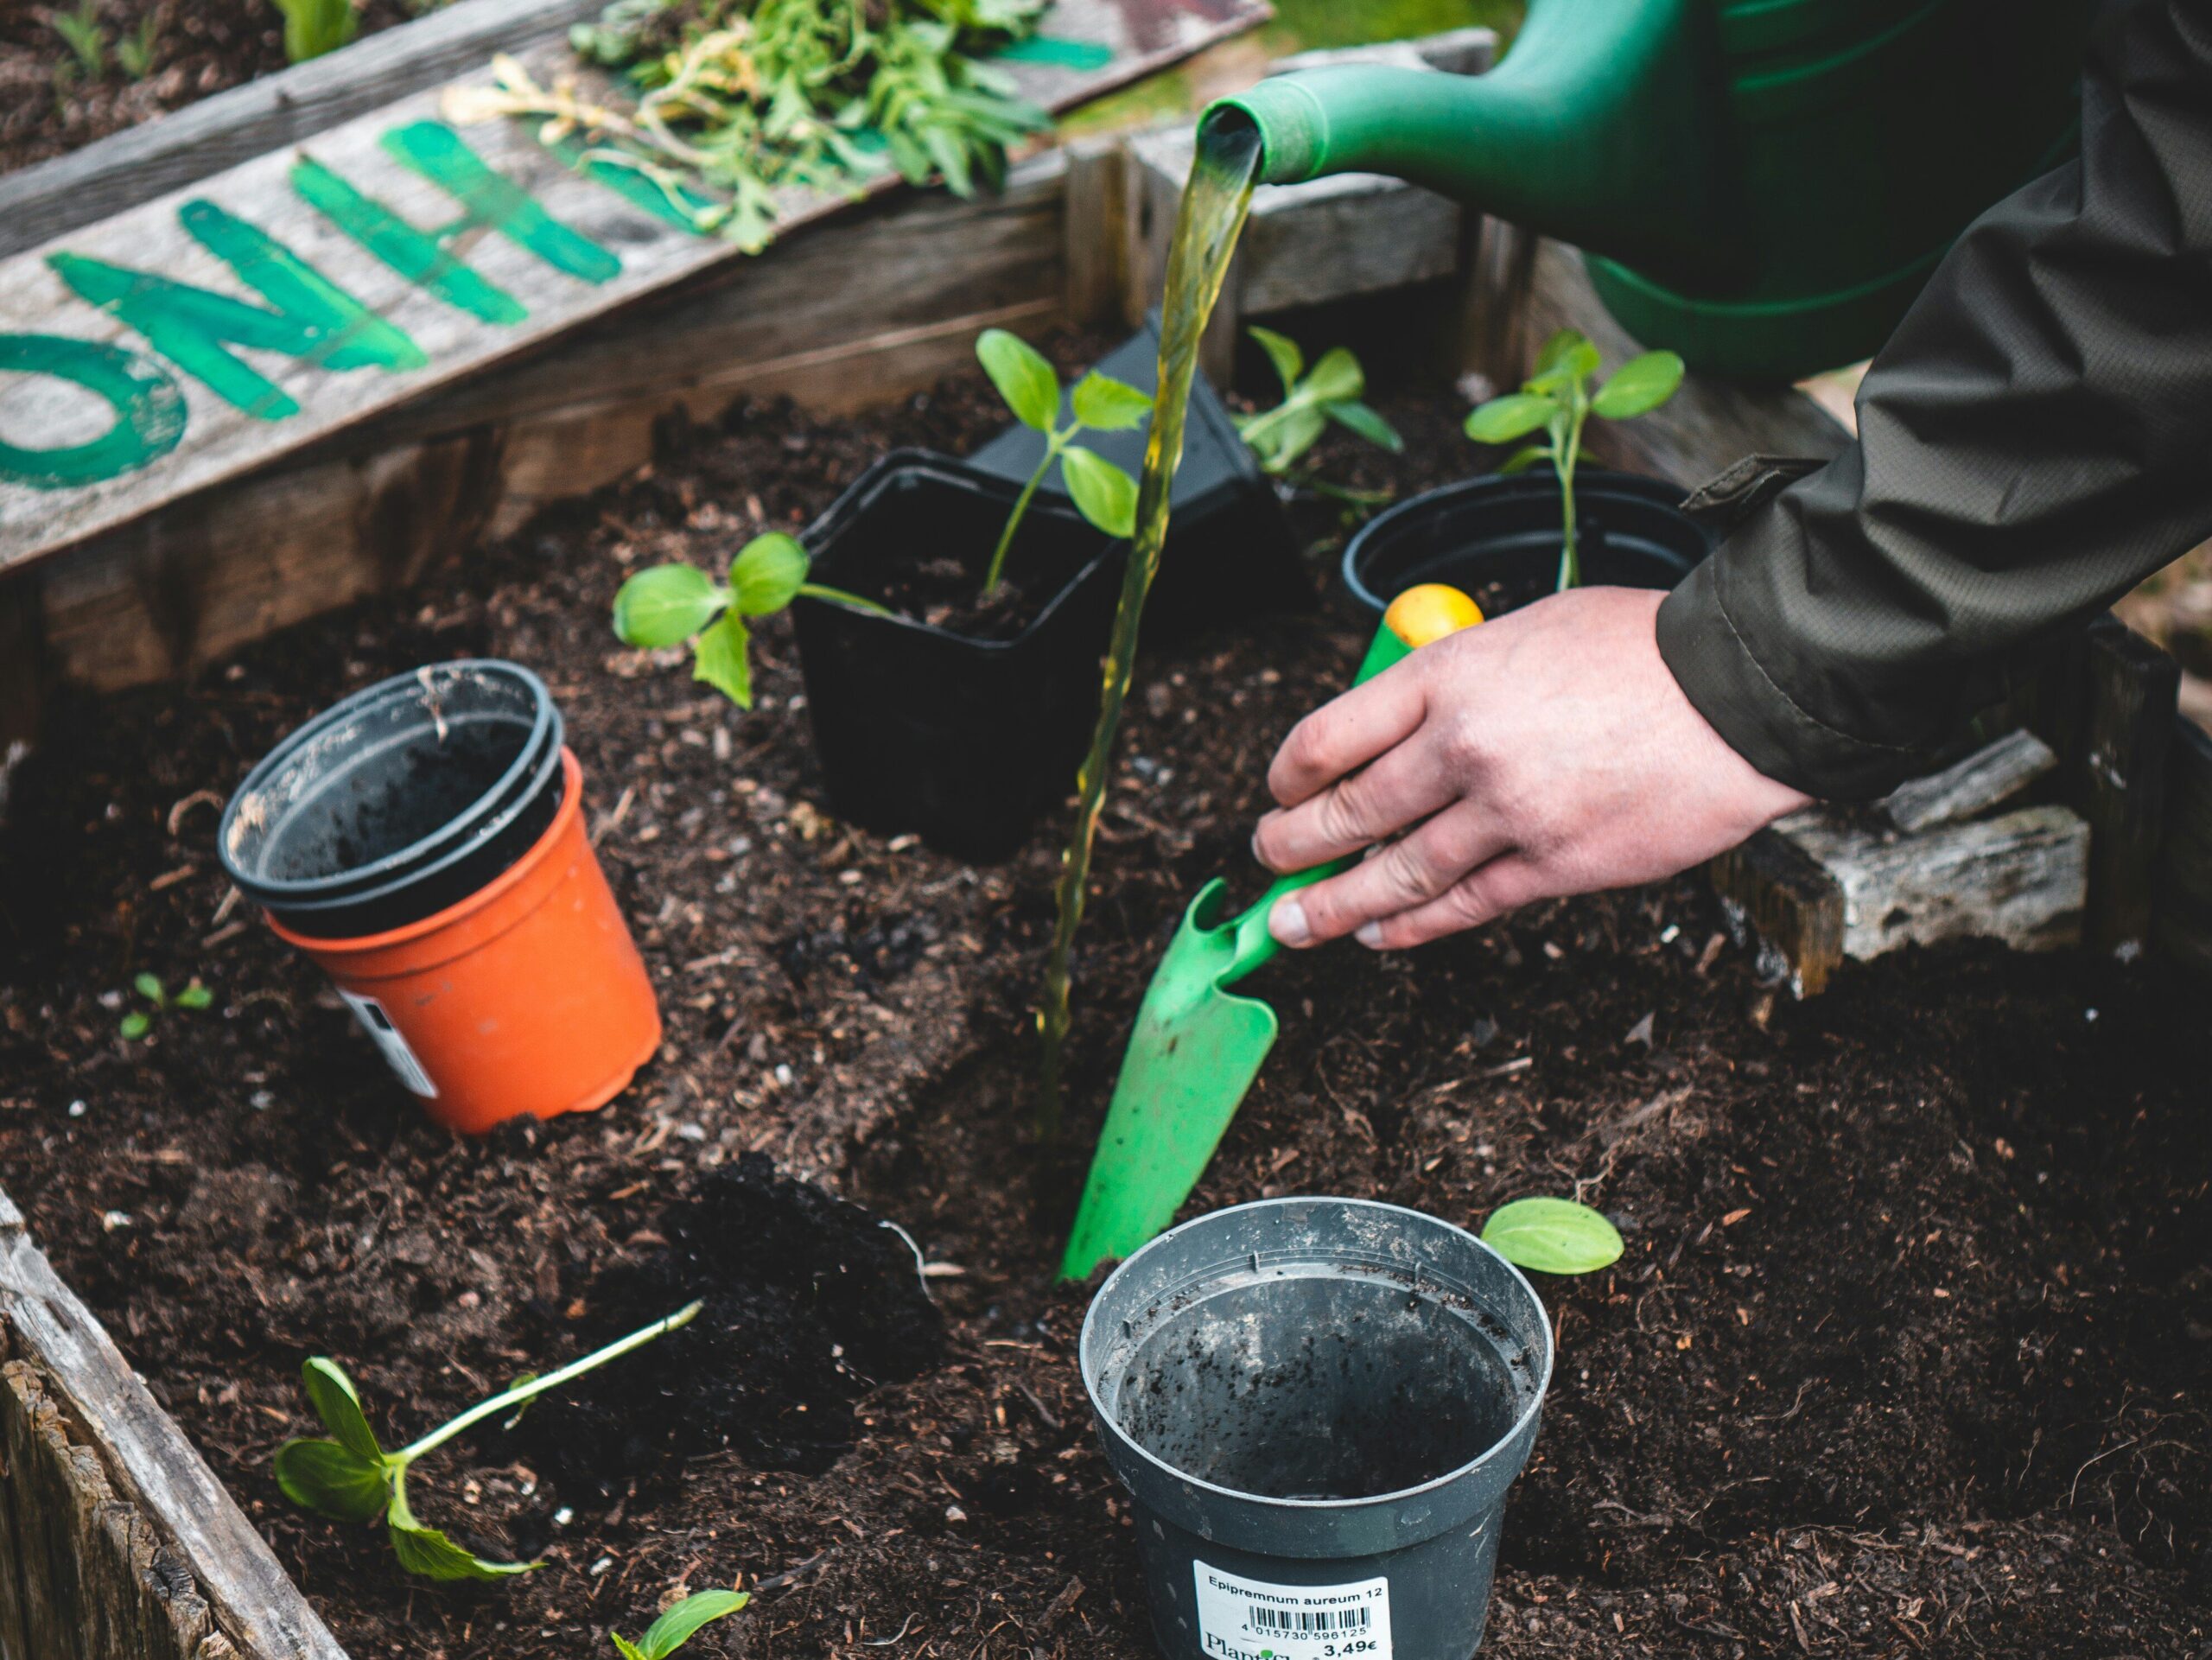
Planting: Hands in the Soil
Once you’ve gathered your supplies, it’s time to plant. Children love to get their hands dirty, and planting seeds gives them permission to do just that!
- Saturate the soil: Show your kids how to dampen the soil before filling containers. It should be saturated before you put it into containers, I like to fill a wheelbarrow and turn the hose on and just mix it all together before I pot, bonus you feel like a witch stirring a potion!
- Fill the pots: Have them fill the soil into the containers, leaving about half an inch from the top.
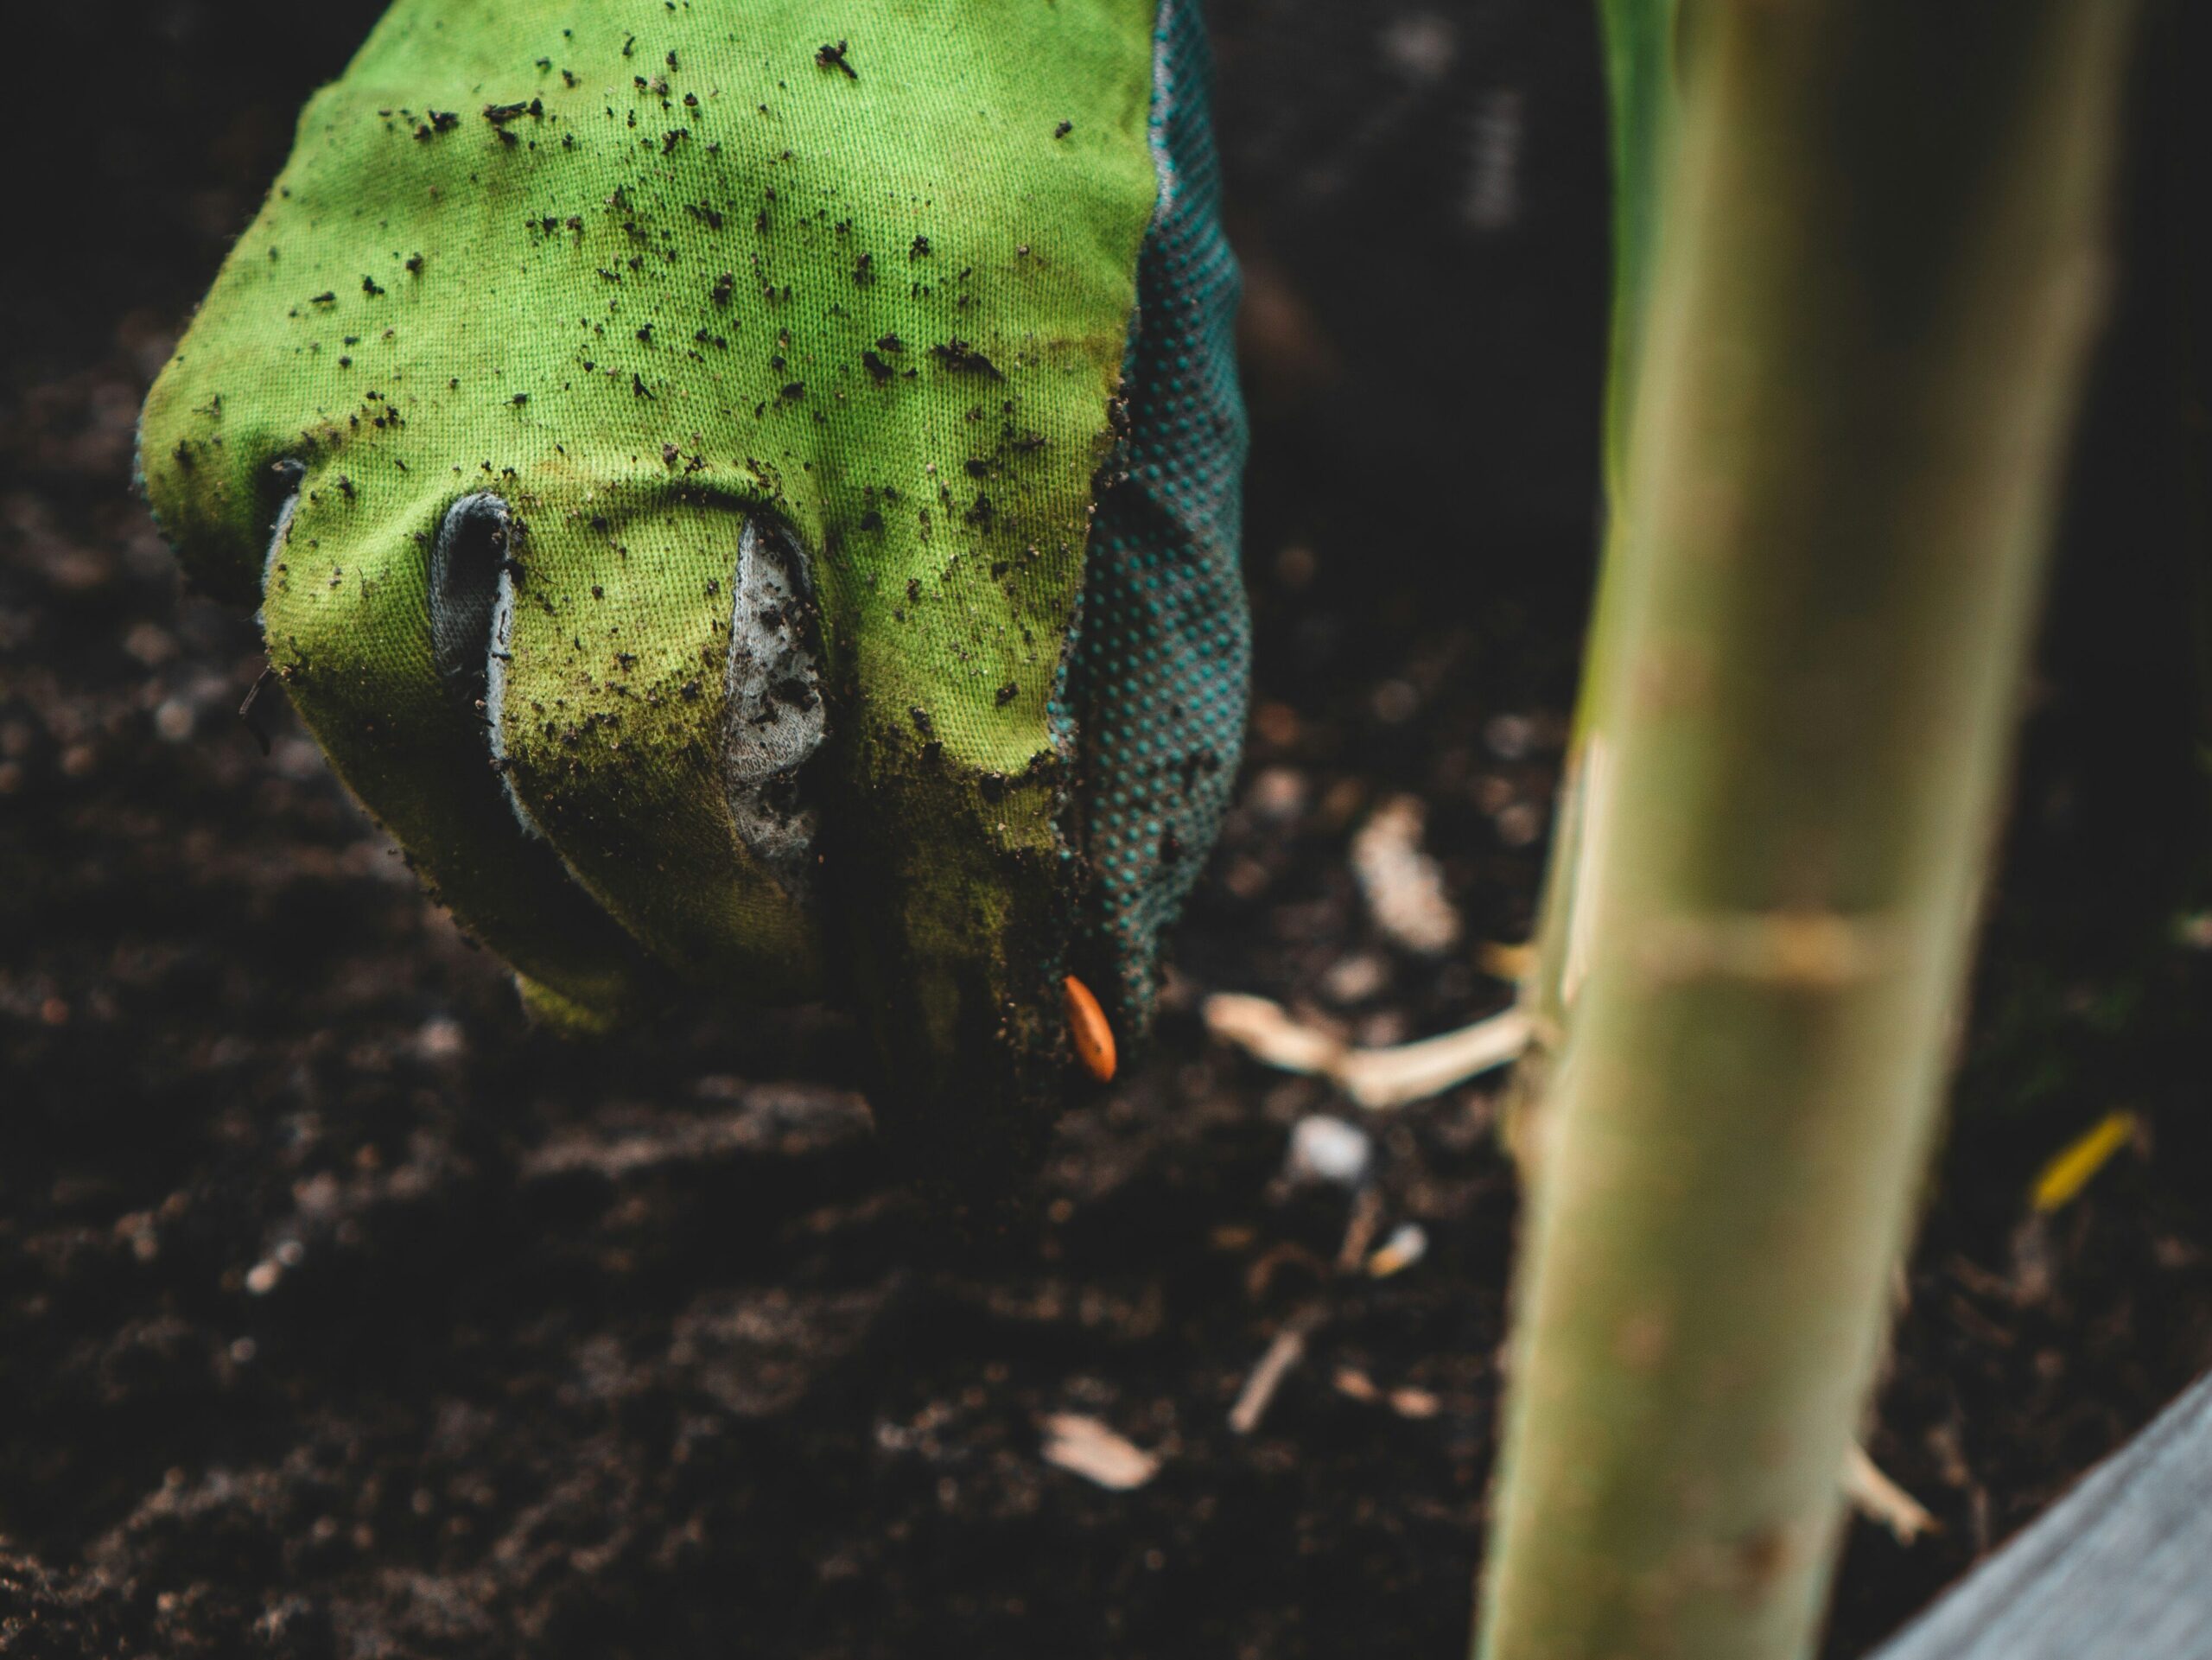
- Plant the seeds: Read the seed packet together and talk about how deep each seed should be planted. Larger seeds like beans can be pressed in with a fingertip, while tiny ones can be sprinkled on top. I like using a toothpick or a chopstick with different measurements on them to determine depth.
- Label the pots: Let your students write or draw pictures on the labels. It’s a great way to practice spelling and observation skills.
- Cover with soil and send them love: Use a spray bottle of warm water to moisten the soil if needed. Use your fingers to tamp down the top soil gently, seeds like to feel snug as a bug in a rug.
Place your newly planted seeds in a warm, sunny spot, if you have access to a greenhouse, perfect! But not necessary, even a windowsill or under a grow light. Check them daily together. Kids love to notice changes, so encourage them to observe, draw, or write what they see in a “seed journal.” My best tip is to always water seedlings with warm water, as it can help them germinate faster. You can also learn how to germinate seeds before planting them in the soil, or compare plant growth from starters to direct sowers, another great activity and avenue for many an experimentation!
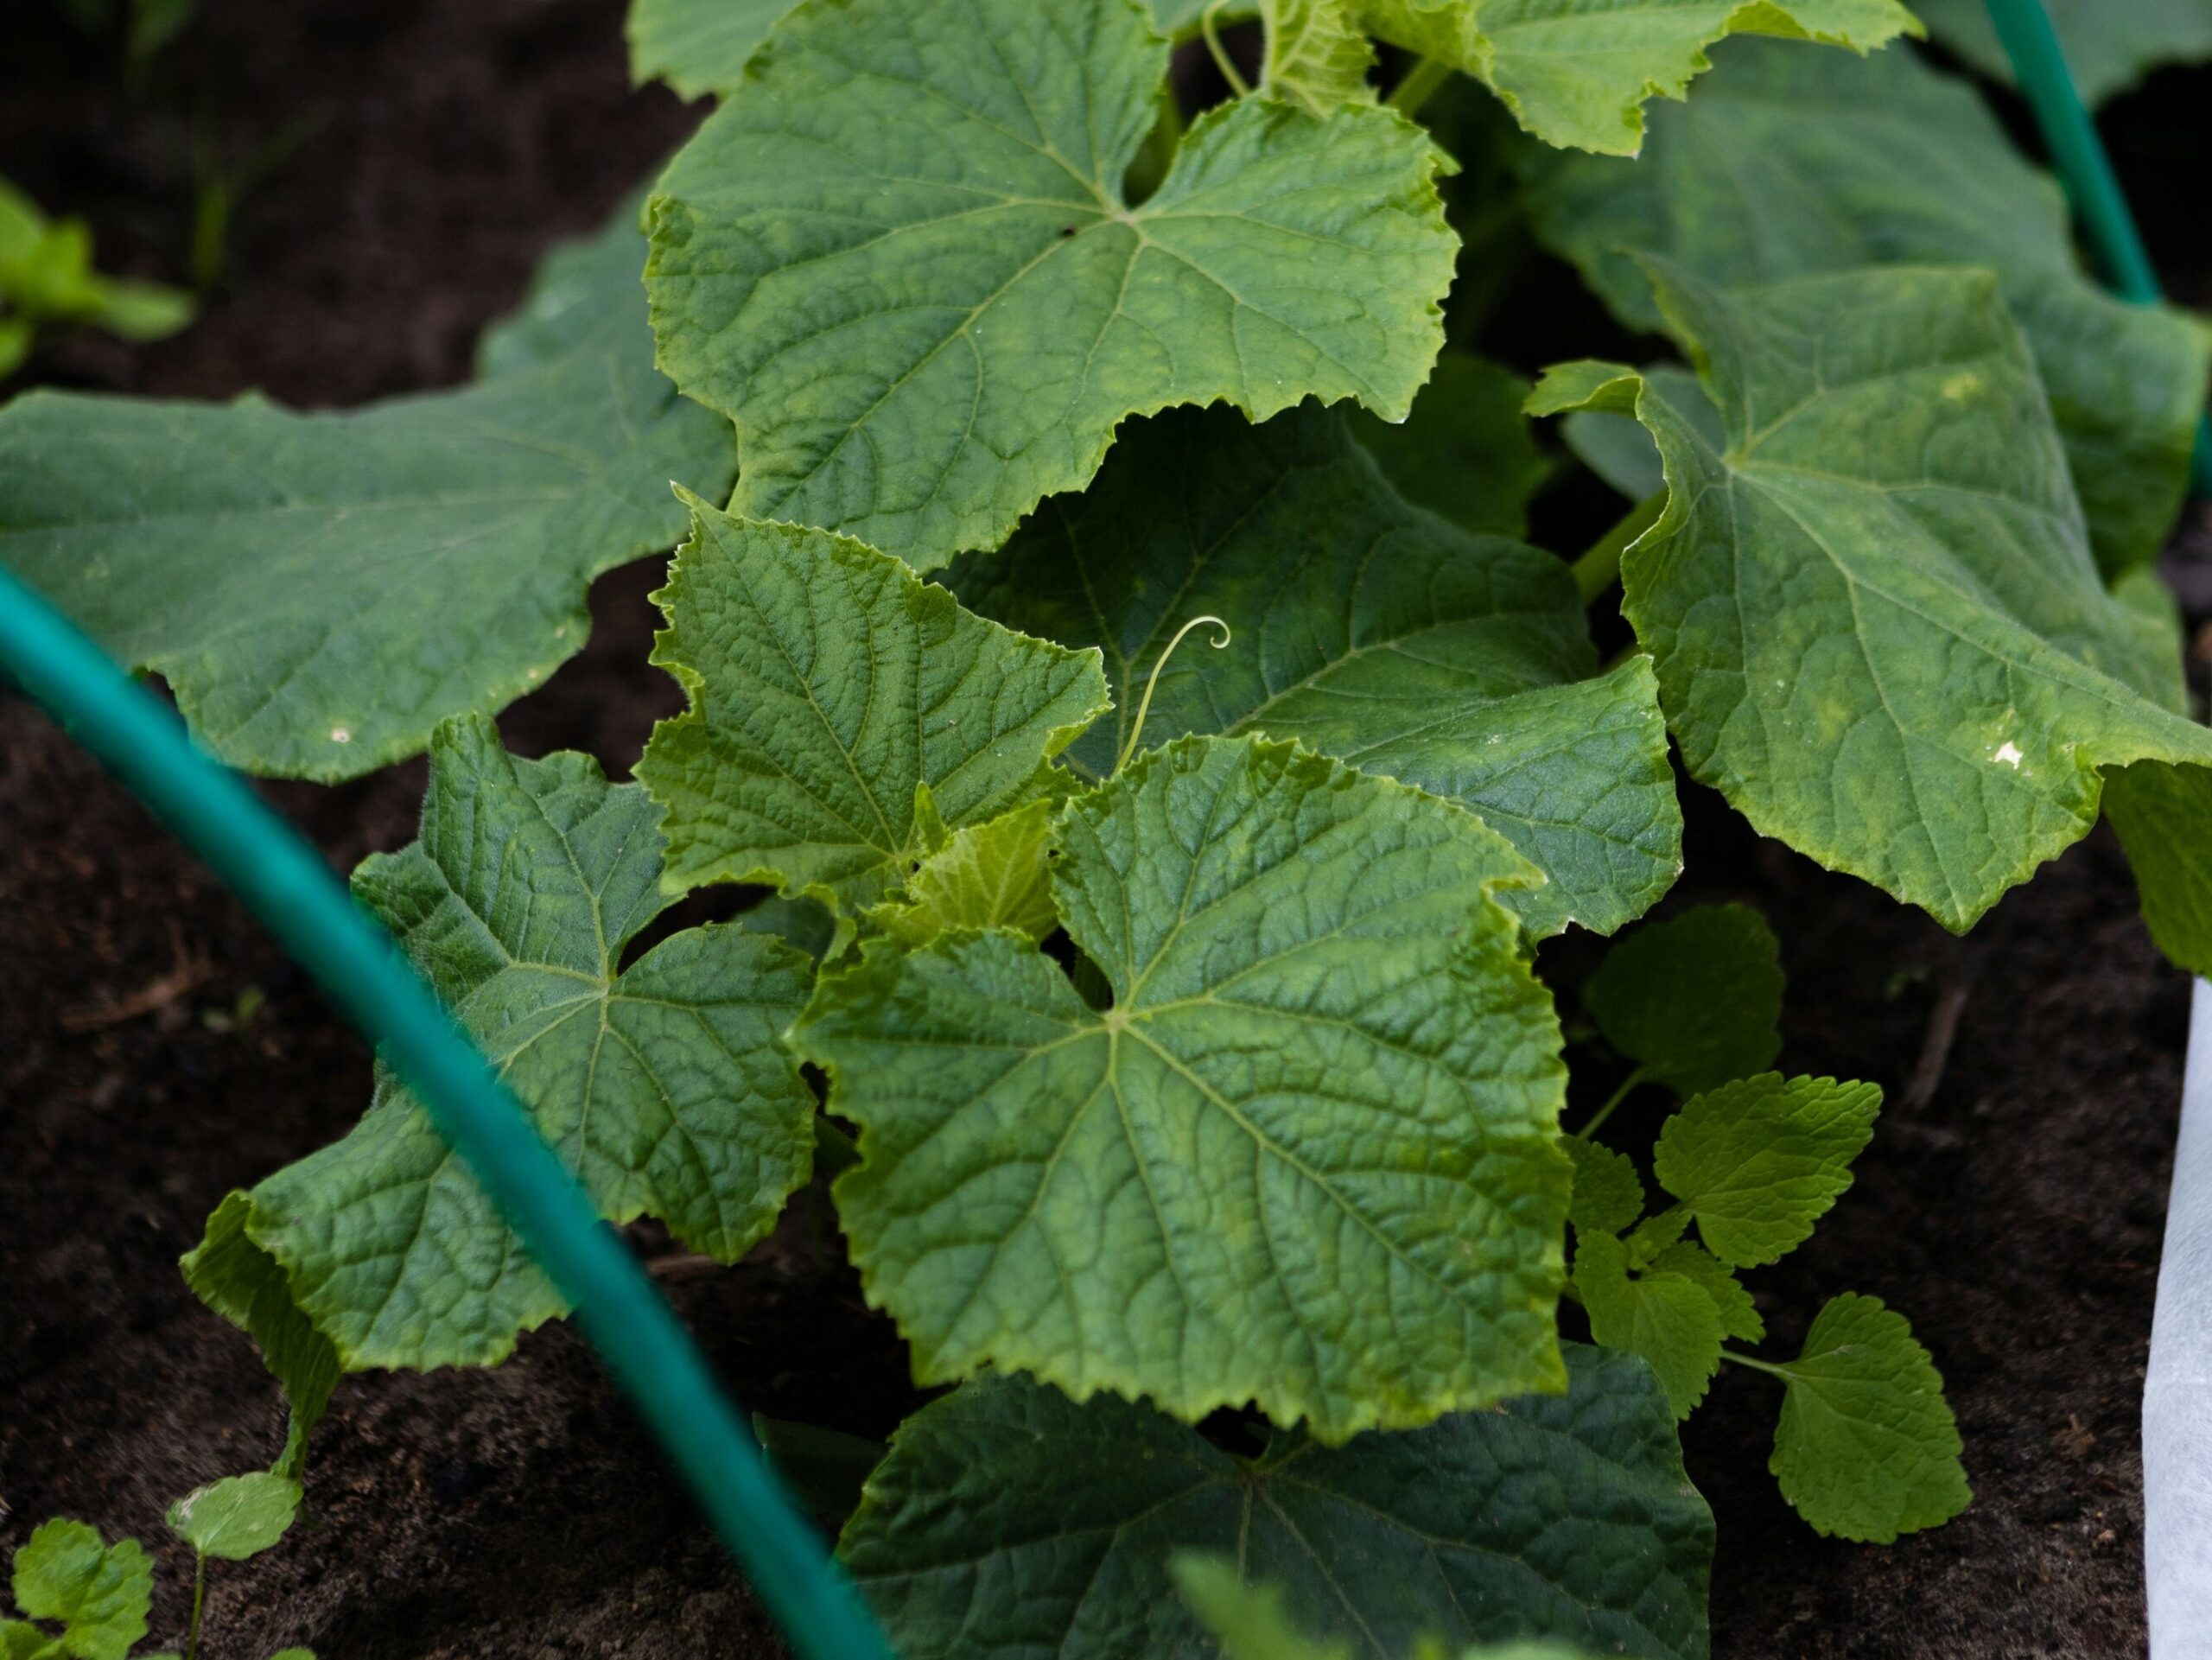
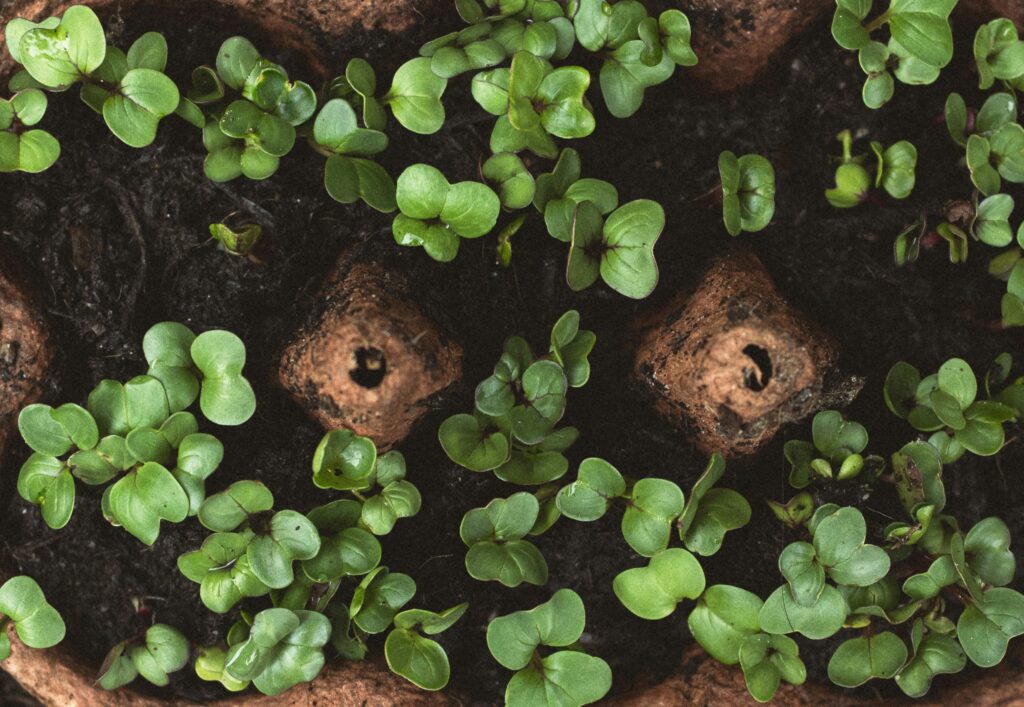
Watching Growth: You Helped Life Along
One of the most powerful lessons gardening teaches children is patience. Seeds don’t sprout instantly; they take days or even weeks. But each day something new brings a hint of green, a taller stem, a new leaf. How exciting! Encourage children to look closely and ask questions for future experiments.
Saving Seeds: The Circle of Life
Once your plants have grown, ripened and produced seeds, it’s time to teach another essential lesson: seed saving. This step helps children understand sustainability and the idea that life continues in cycles.
What is seed saving?
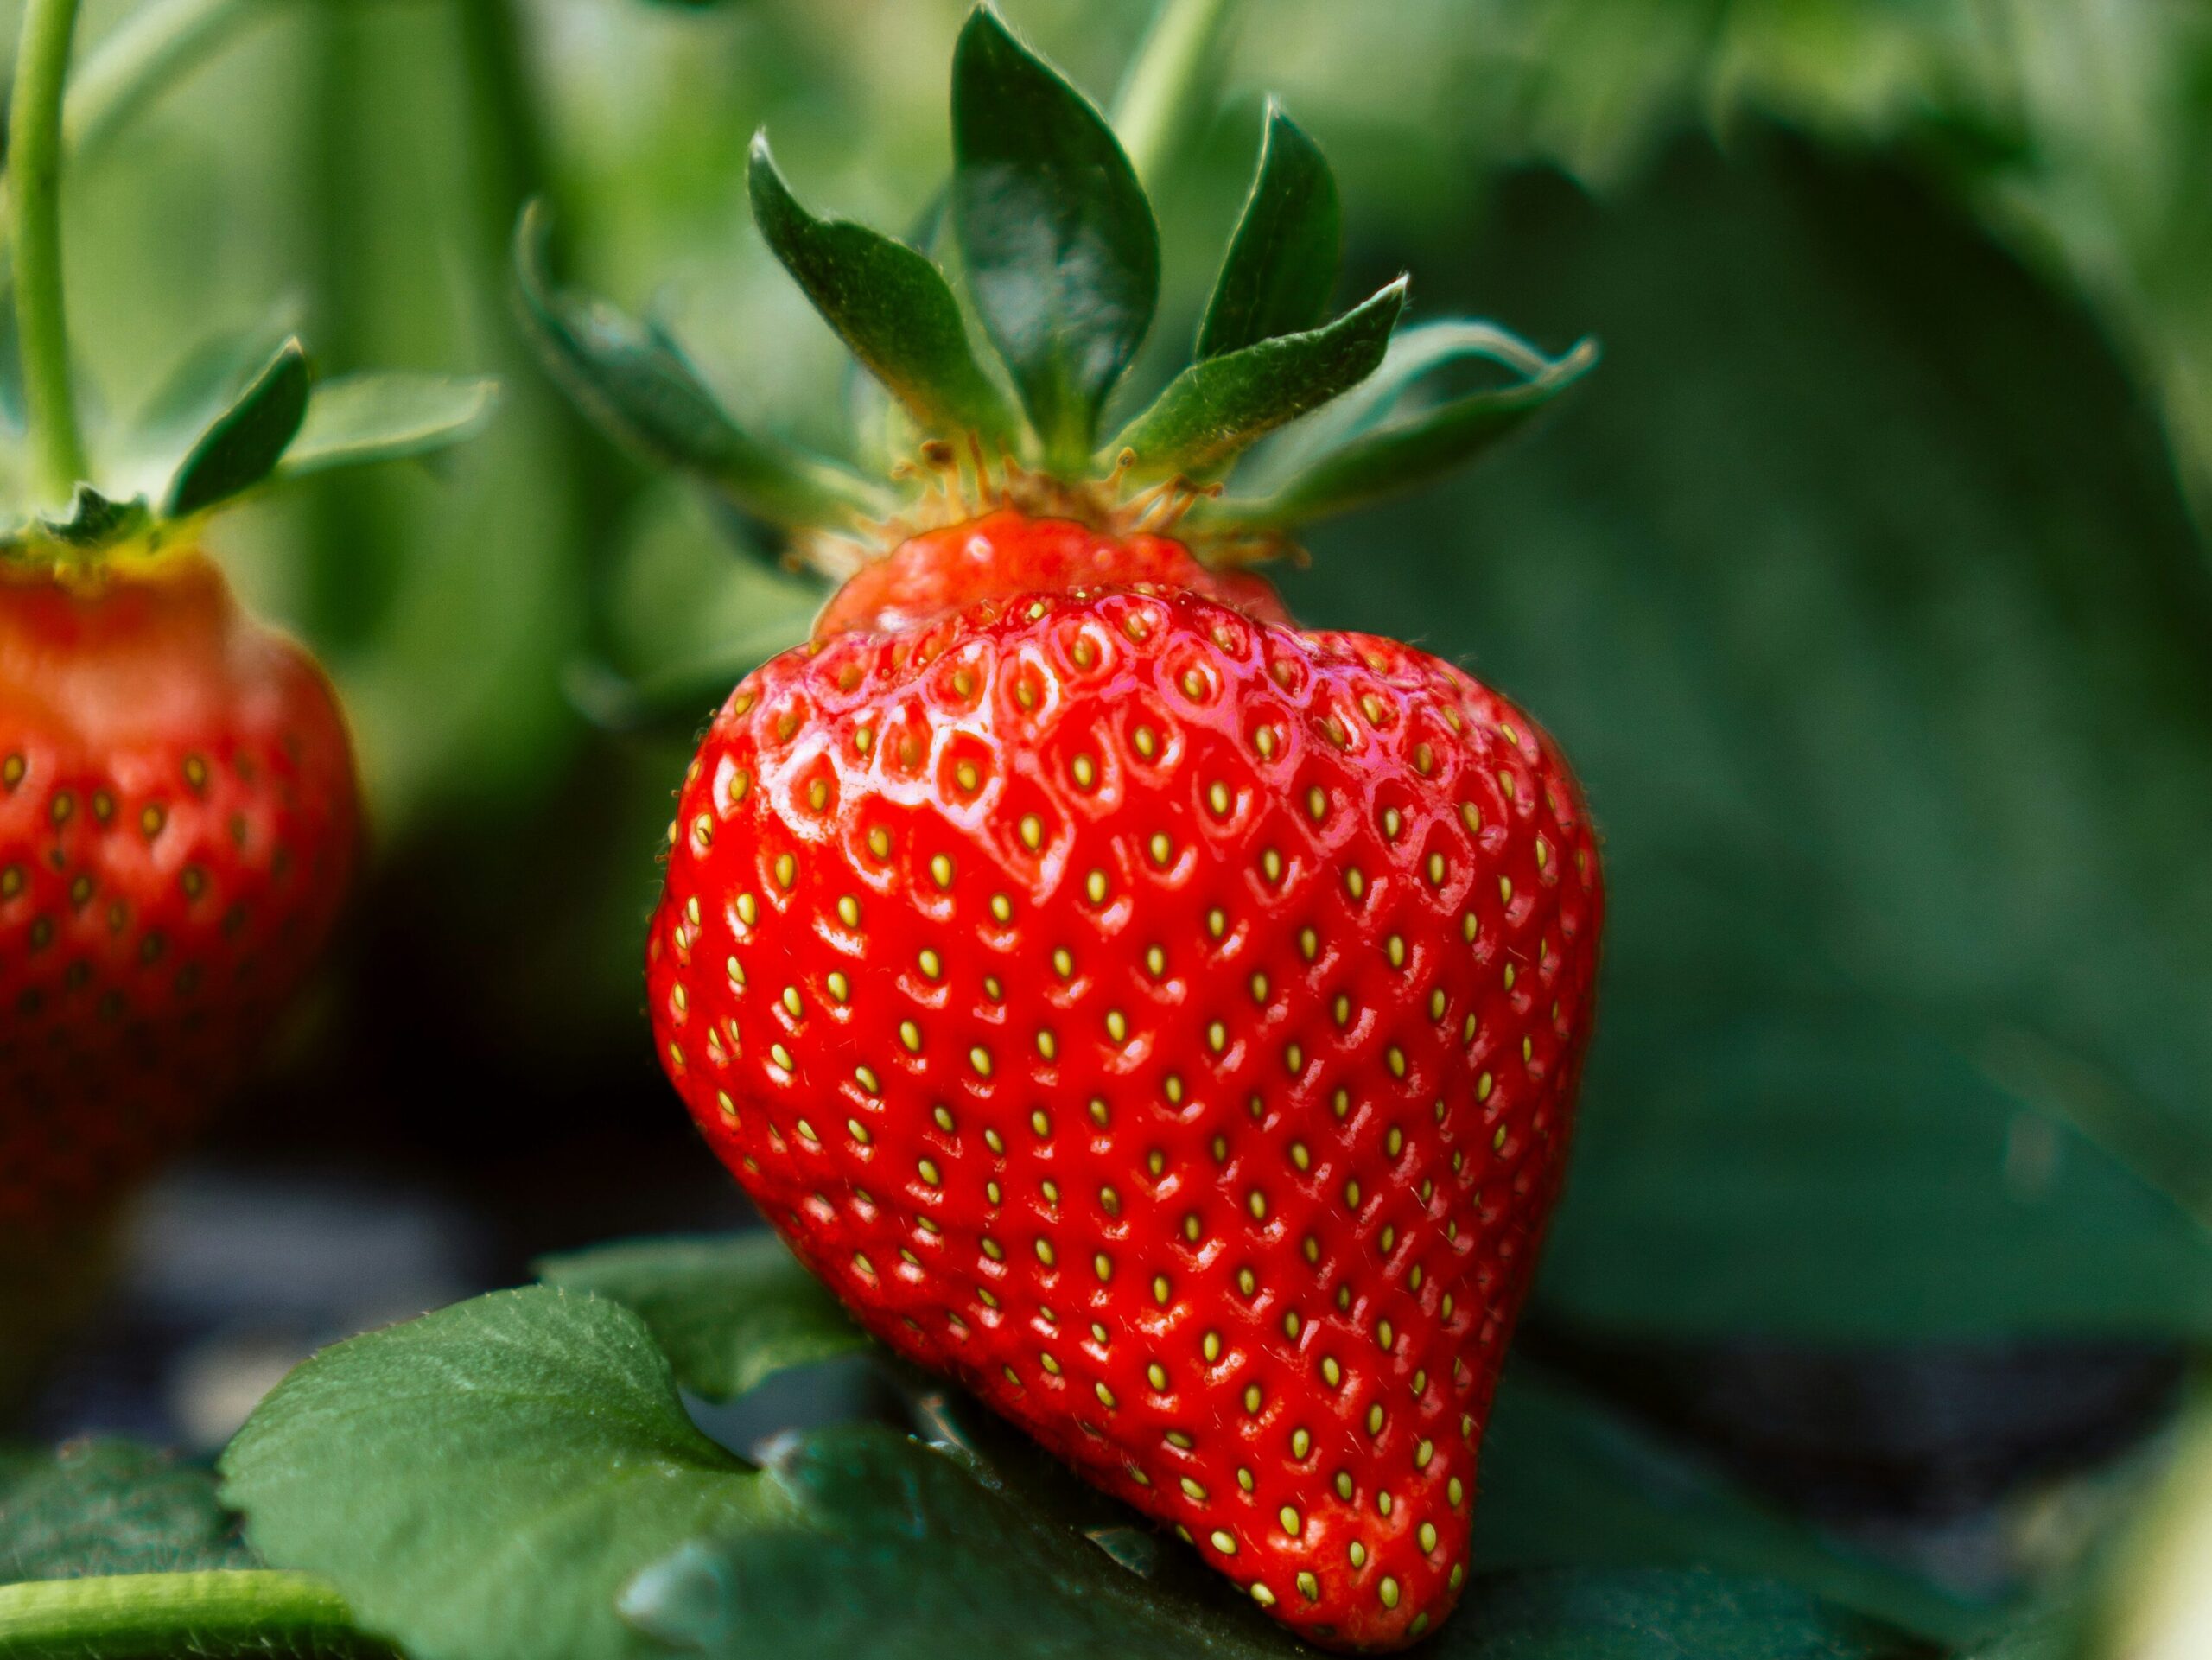
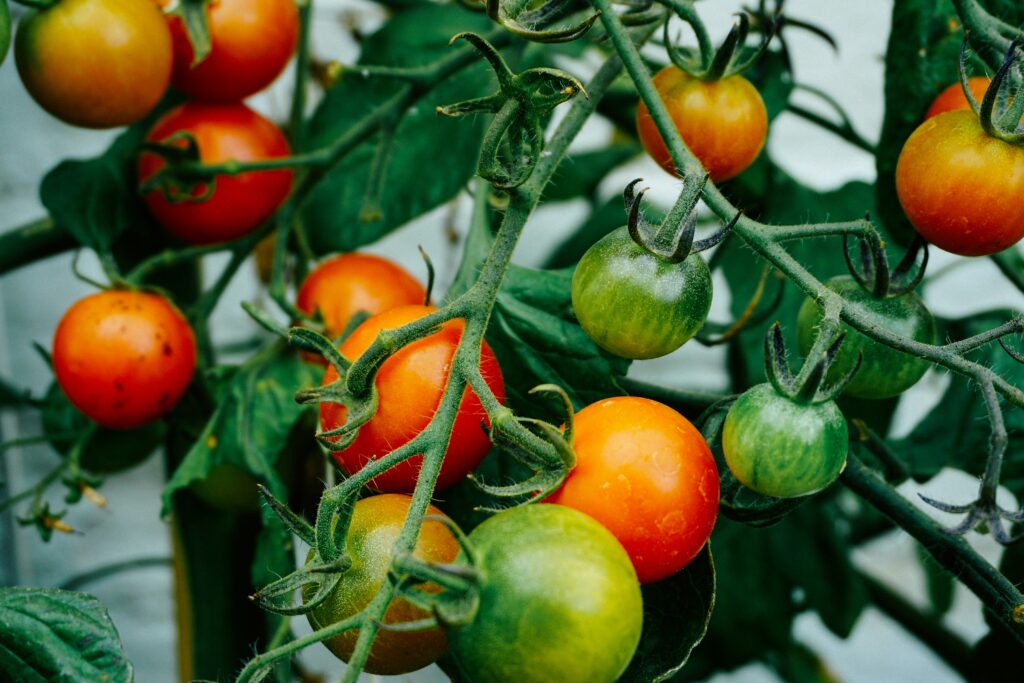
Seed saving is the process in which you store, preserve and extend the lifecycle of your plants. Have a bumper crop of tomatoes? Take the best one and save its seeds. Extra juicy strawberry? Seed saving! Same goes for any plant you grow, and even flowers!
Here’s how to introduce seed saving to kids:
- Choose the best plants: Pick healthy, strong plants that produced well. Explain that these plants will pass on their “good traits” to the next generation.
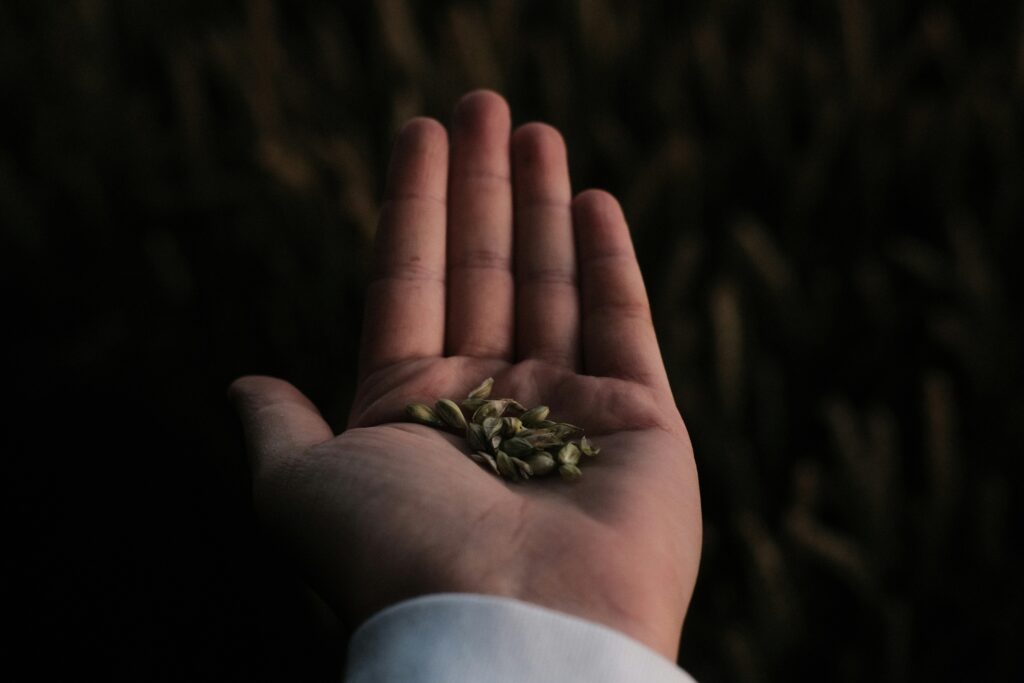
- Collect mature seeds: Show them how to identify when seeds are ready, pods are dry and brown, or flower heads feel crispy.
- Extract and clean the seeds: Kids can gently shake or rub seeds from dried pods or flowers onto a paper plate. For fruits like tomatoes or peppers, scoop out the seeds and rinse them in water before drying.
- Dry thoroughly: Spread the seeds on a paper towel or screen for several days until they’re completely dry.
- Label and store: Place the dried seeds in envelopes or small jars, labeling them with the plant name and date. Store them in a cool, dry place.
Let children decorate the seed packets, it turns them into tiny treasures for next year. You might even start a “family or class seed library”, where each season’s seeds are added and shared with classes or friends.
Keeping Joy at the Heart of it
Once your children or students have experienced the full cycle, from seed to plant to seed again, they’ll start to see nature differently. Suddenly, a dried sunflower isn’t just a flower; it’s a promise of next year’s garden. A tomato isn’t just a snack, it’s a story of life cycles. Keep the curiosity alive by trying new seeds each season or starting themed gardens: a “pizza garden” with basil and tomatoes, a “pollinator patch” with wildflowers, or a “rainbow garden” with colorful vegetables. And remember even if not every seed sprouts, or a plant doesn’t survive, that too is part of the lesson. Gardening teaches many things, understanding that growth is a process, and that every ending holds the beginning of something new.
So grab some seeds, roll up your sleeves, and plant the beginning of some beautiful roots together (how many gardening analogies, is too many gardening analogies?)
Resources:
https://spec.bc.ca/wp-content/uploads/2021/08/SPECs-School-Gardens-Start-Up-Guide.pdf
Unsplashed Photography:
Photo by Jonathan Kemper on Unsplash
Photo by Meg MacDonald on Unsplash
Photo by Jonathan Kemper on Unsplash
Photo by Julian Hochgesang on Unsplash
Photo by Markus Spiske on Unsplash
Photo by Екатерина Коробова on Unsplash
Photo by Zoe Richardson on Unsplash
Photo by Justus Menke on Unsplash
Photo by Jonathan Kemper on Unsplash
Photo by Jonathan Kemper on Unsplash